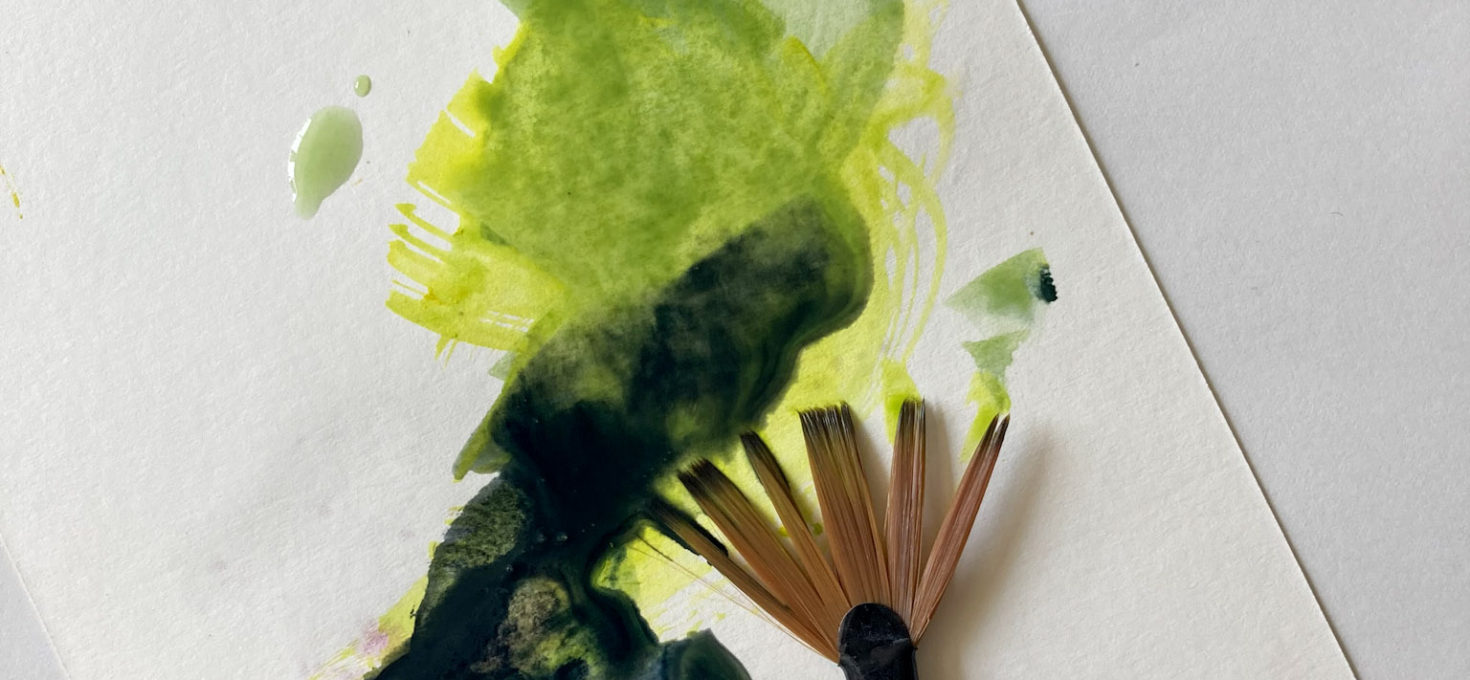
Have you wanted to try watercolor but needed some help getting started? I’ve got you covered. In this post, I”ll touch upon how to use watercolor and what you need to know before you even pick up a brush.
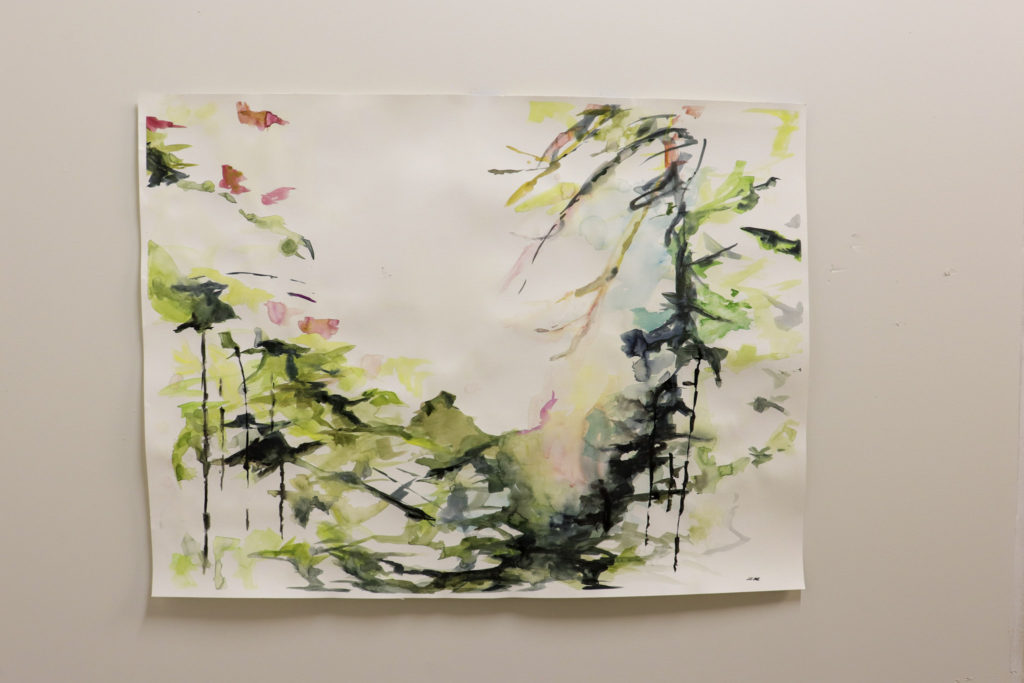
As I was painting Light (featured below), I remembered how much I enjoy painting with watercolors. Once you get the hang of it, it’s really a simple medium. It requires a light touch and patience. Patience because it involves layering pigments, from light to dark. The good news is, watercolor dries fast, so you won’t be waiting too long.
The inspiration for Light came from my admiration for plants and flowers. I love their organic movements and simple beauty. Think about what brings you inspiration as you learn my tricks on how to get started below.
Painting is just another way of keeping a diary.
~ Pablo Picasso
5 Tips and Tricks for Starting Your Watercolor Painting
1. Save Money and Cut Your Own Watercolor Paper
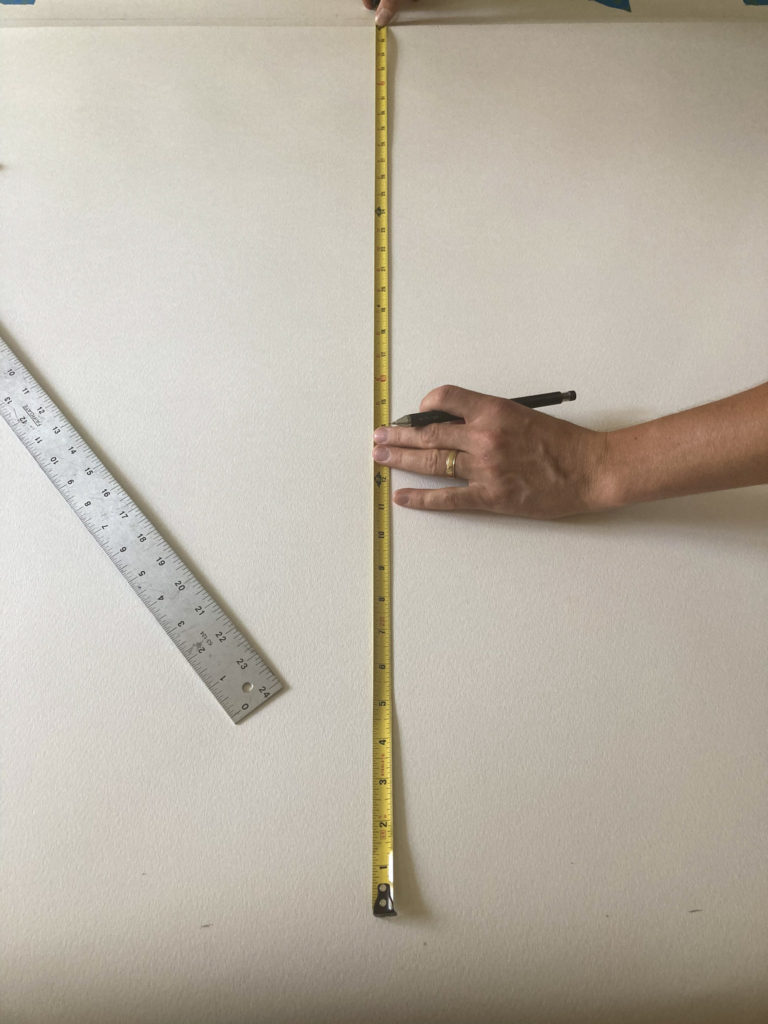
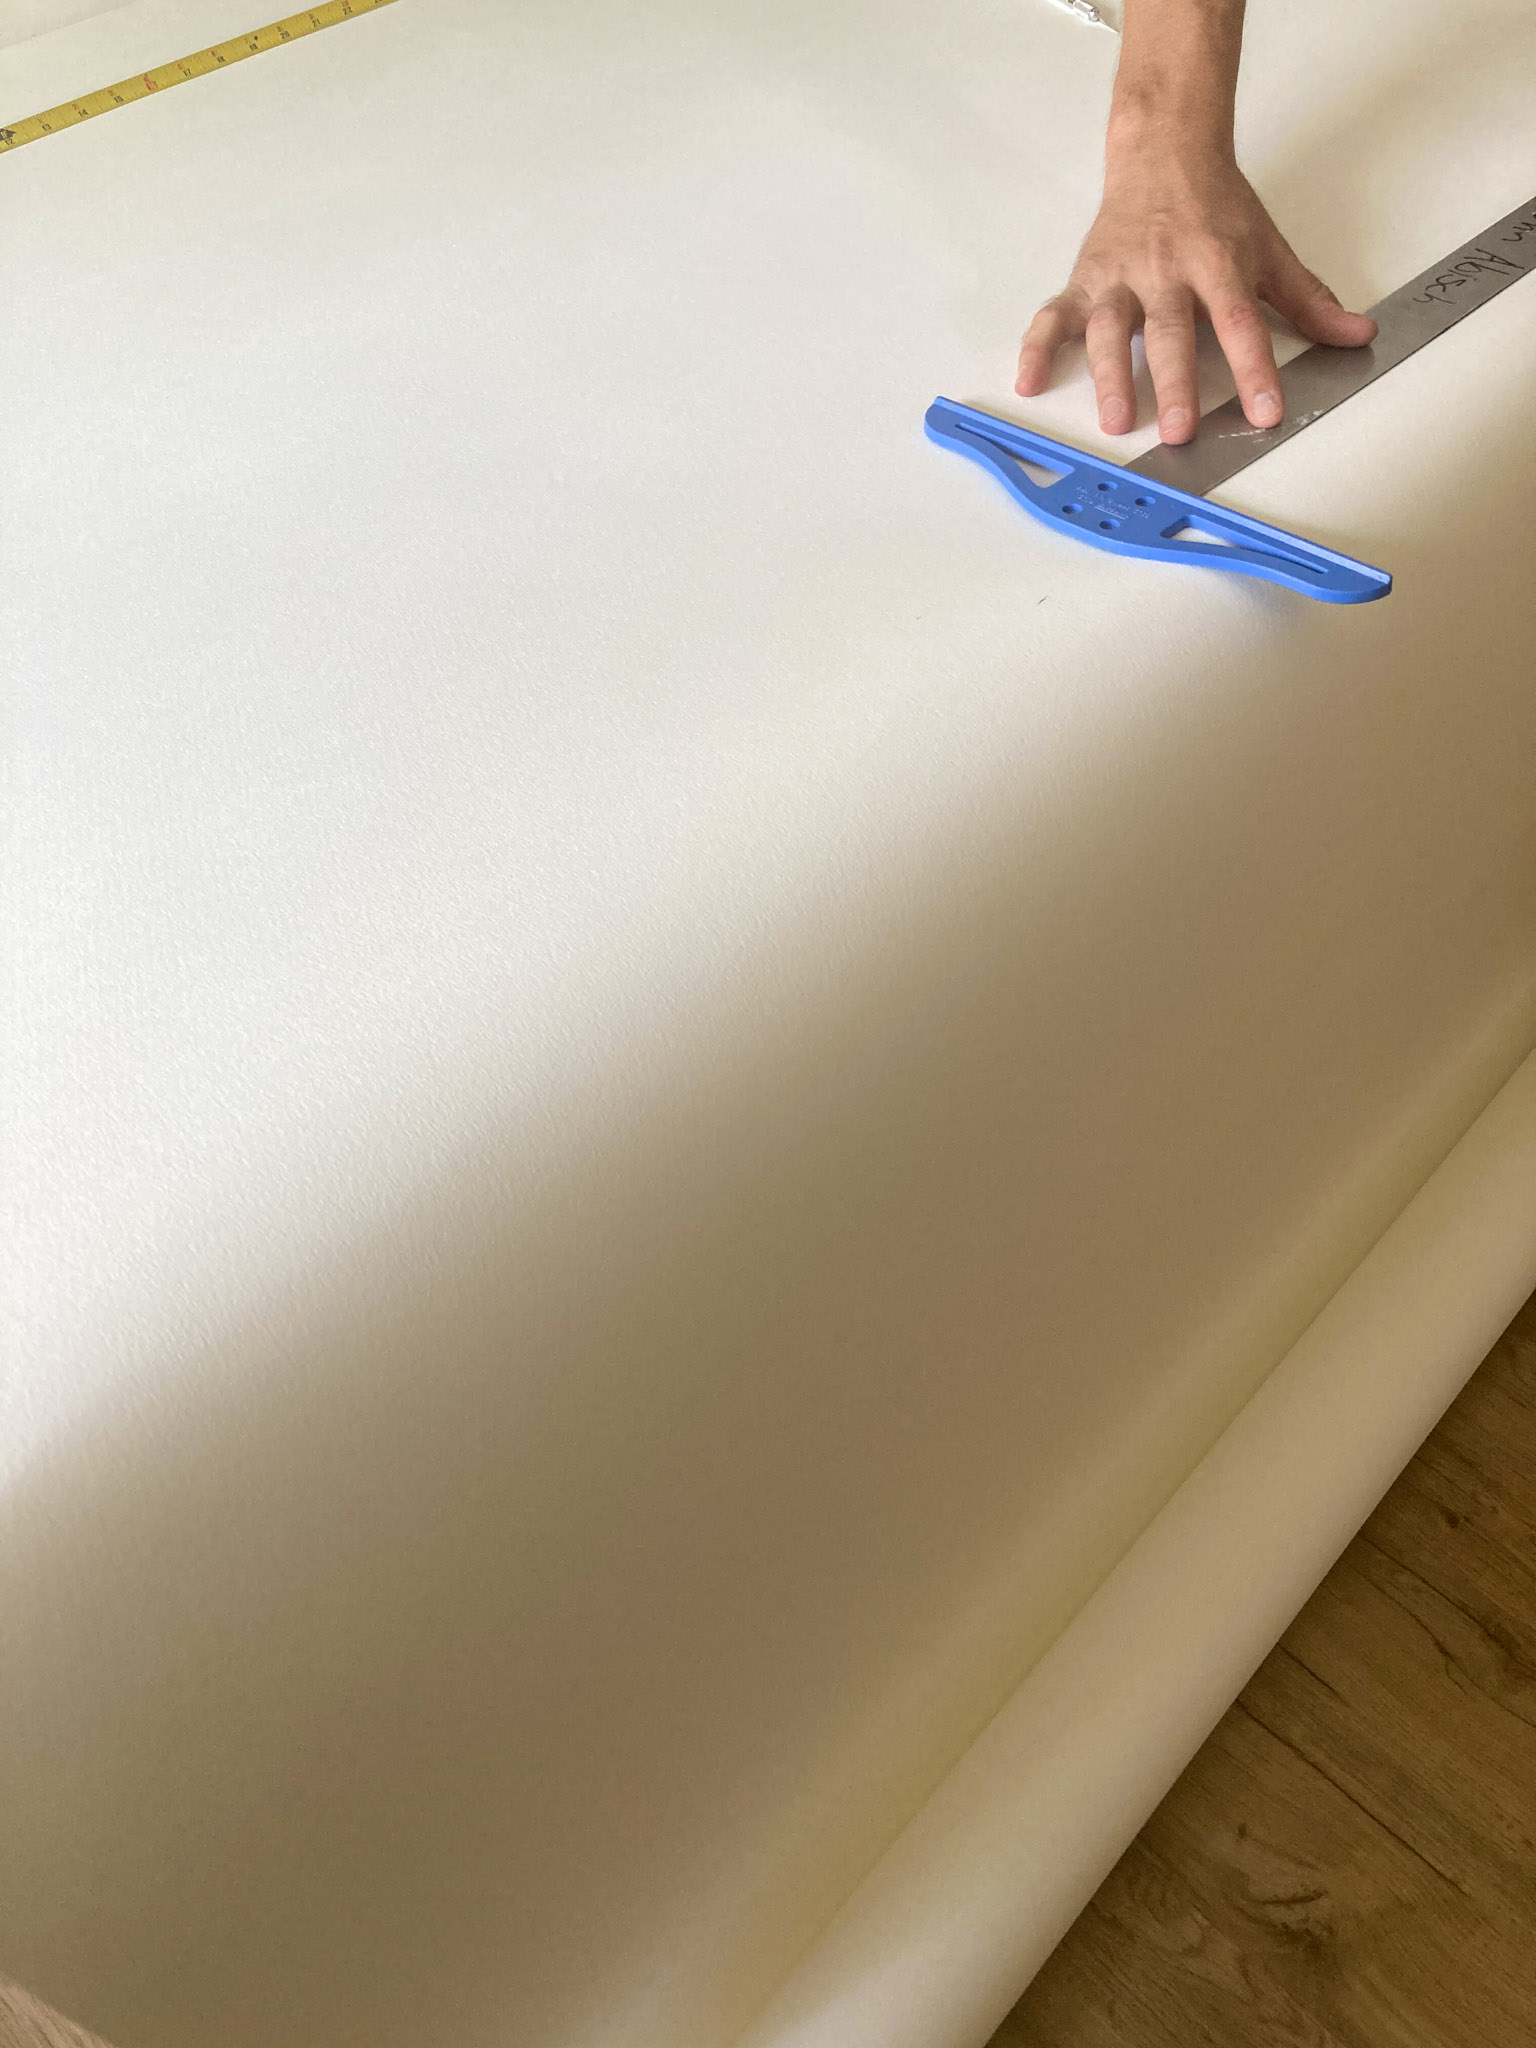
Watercolor paper can be expensive and they rarely sell large sizes in your regular arts stores. For Light , the client had requested a large size so I searched for large reams of watercolor paper and finally landed on Canson Artist Series on Amazon for $38.25. All other brands were triple the price and way less quality.
It came with 5 yards of Canson Watercolor paper so I broke out my measuring tape and an exacto knife and cut the desired size: 4ft x 3 ft.
I highly recommend this paper to anyone searching how to use watercolor. It’s such a great way to save money when buying art supplies!
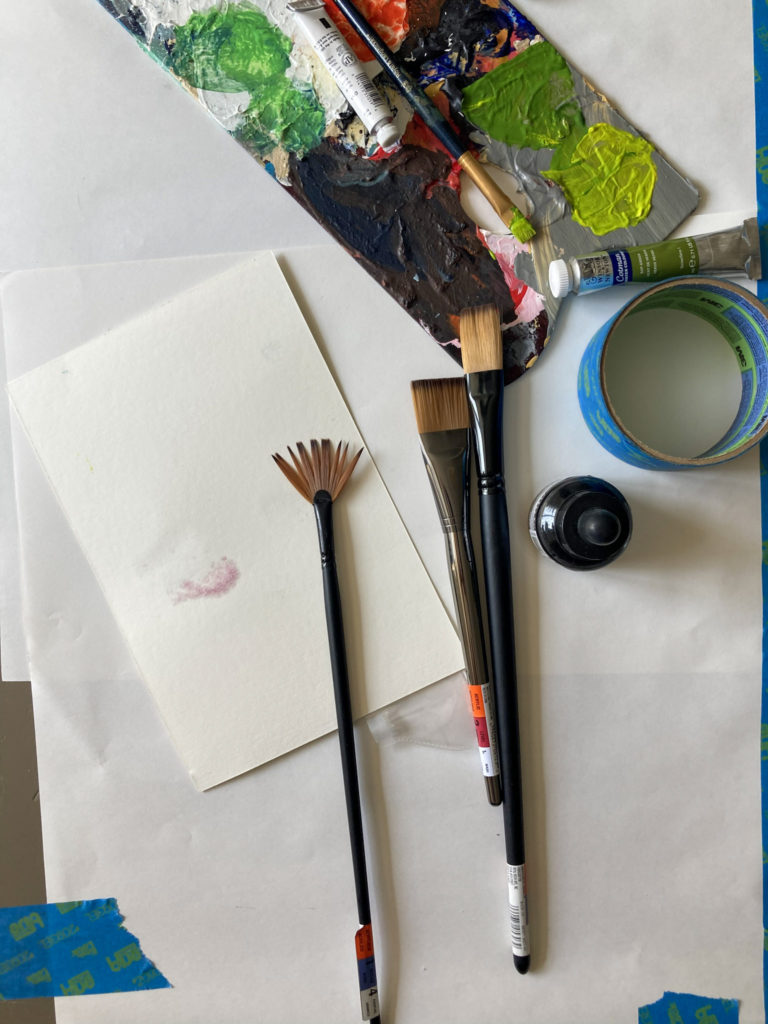
2. Tape Your Edges Down
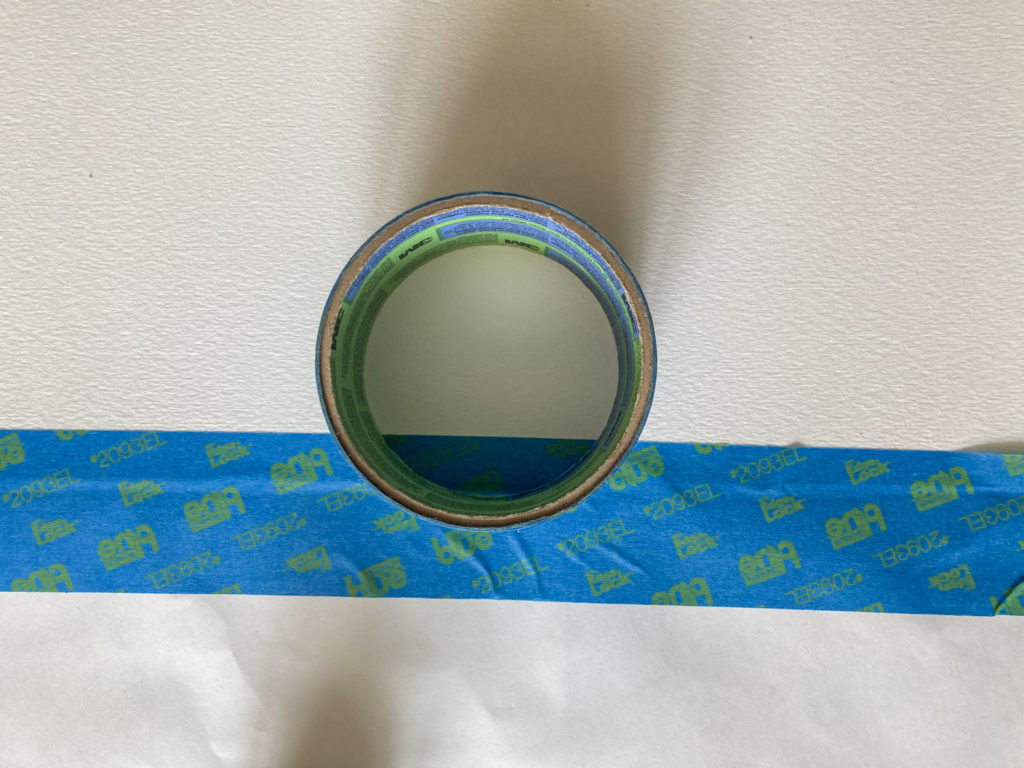
It may seem like a no-brainer, but you’d be surprised how many people skip this step! Use painter’s tape to secure your edges on the painting surface. When you add water to paper, it bubbles up and warps. The tape is to ensure a flat painting once dried. Your painting may lift in certain areas as you paint, but as long as you have the tape placed along the sides it will dry flat.
Also, when the watercolor is complete, sometimes I take out my large Harry Potter Books and lay them on top of the painting to help the flattening process along. Not the most proper advice, but it works! A good Jane Austen novel will do just fine as well;-p.
Because watercolor actually moves on the paper, it is the most active of all mediums, almost a performance art.
~Nita Engle
How to Use Watercolor Continued…
3. Use Multiple Water Cups
One of my best pieces of advice on how to use watercolor is to have multiple water cups available. I’ll explain! Dark pigments can dominate your water quickly, leaving it difficult to transition from one color to the next when dipping your brush in tainted water.
Also, who wants to stop and change the water constantly? To avoid frequent trips to the sink, use 2-3 individual cups of water. One for your lighter, more alike colors, the second for your darker colors, and the third to have clean water as the need arises!
Also, make sure to have paper towels at your workstation to soak up excess water from your brushes as needed.
4. Choose Your Paints Wisely
Have you ever gone to the art store and just stared at all the paint options? Perhaps you were too overwhelmed and felt like leaving? I’ve been there.
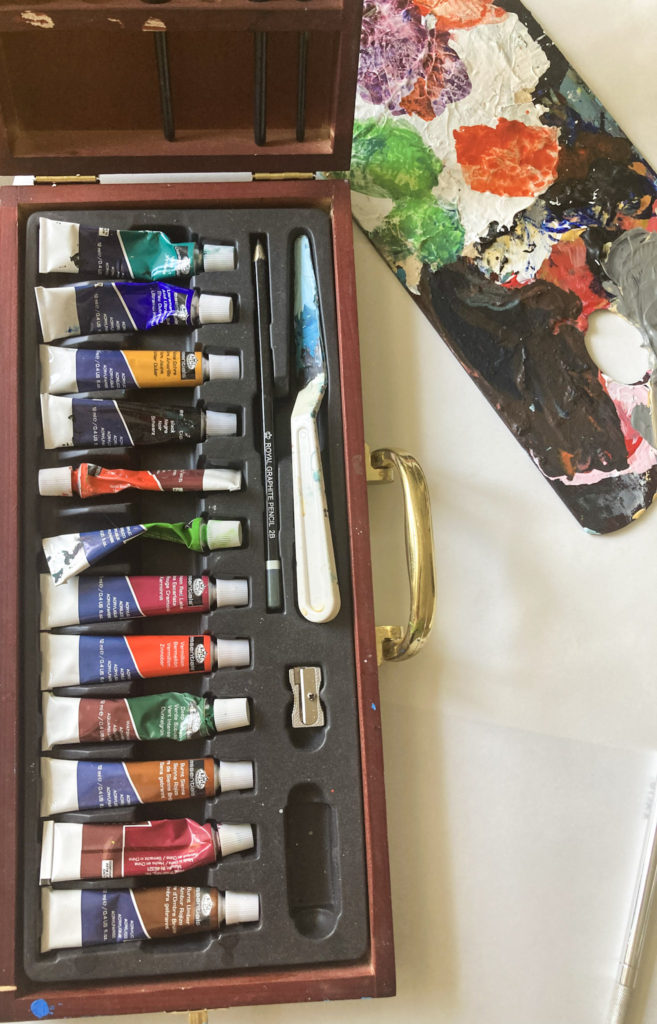
Here is a little insider trick on picking your watercolor paints: don’t buy the 21 ml tubes unless you plan to paint a HUGE painting or become an avid watercolor painter.
Why? It only takes a tiny bit of pigment to create the desired hue. I would go with a .25 fl oz tube to start.
Secondly, watercolor rarely involves white paint. I recommended using water to lighten your pigments and embrace the white paper to create light.
5. Lastly on How to Use Watercolors: Test Your Colors
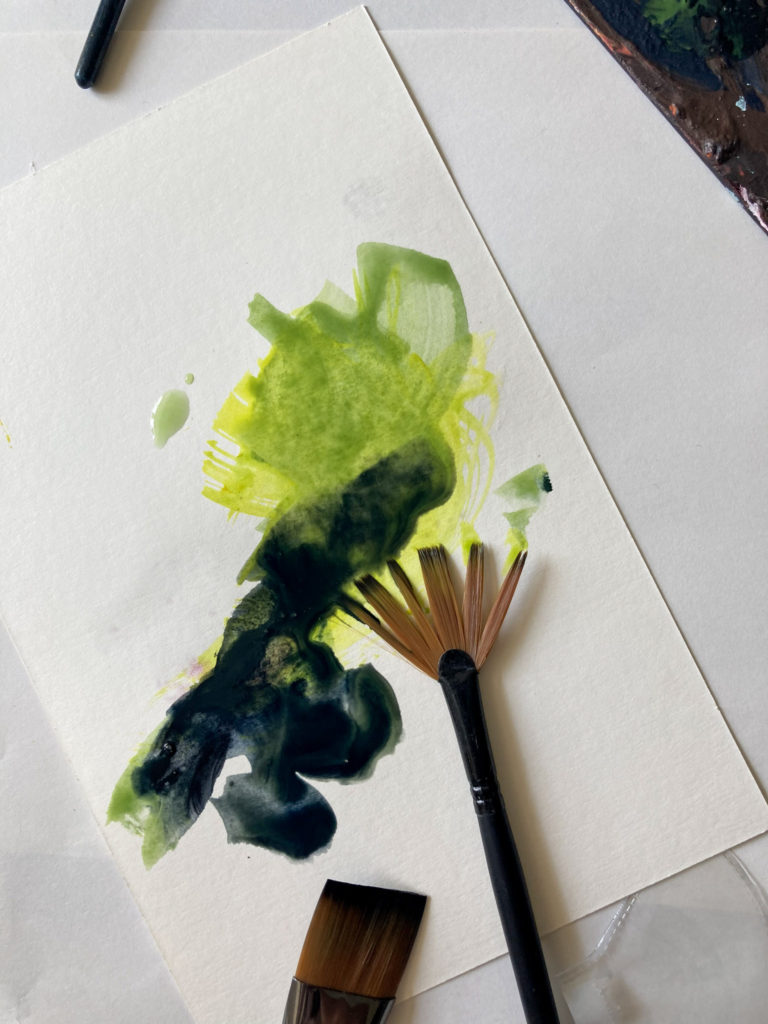
The last tip on how to use watercolors is to test your color palette before you start painting. This is particularly important with watercolors since its difficult to completely erase once applied. Don’t worry, there are tricks you can do to fix happy accidents but it’s always best to over prepare!
When water is applied to a pigment it will make the hue lighter. Sometimes it’s difficult to determine how translucent or opaque your brush stroke will be unless you test it out first. I like to keep a scrap piece of watercolor paper at my workstation for testing purposes.
There, you can add water or more pigment to your brush until you get the desired opacity. This will save you loads of time down the road!
Have you thought of your inspiration yet? Once you have your workstation ready, begin! I recommend playing around with your brush and water levels to start. Be careful not to go too heavy on the water until you find your happy medium. Would a post on how to paint with watercolors be helpful? Let me know in the comments below! For more painting techniques visit How to Use Stencils with Acrylic Paint.
~ Alexandria
