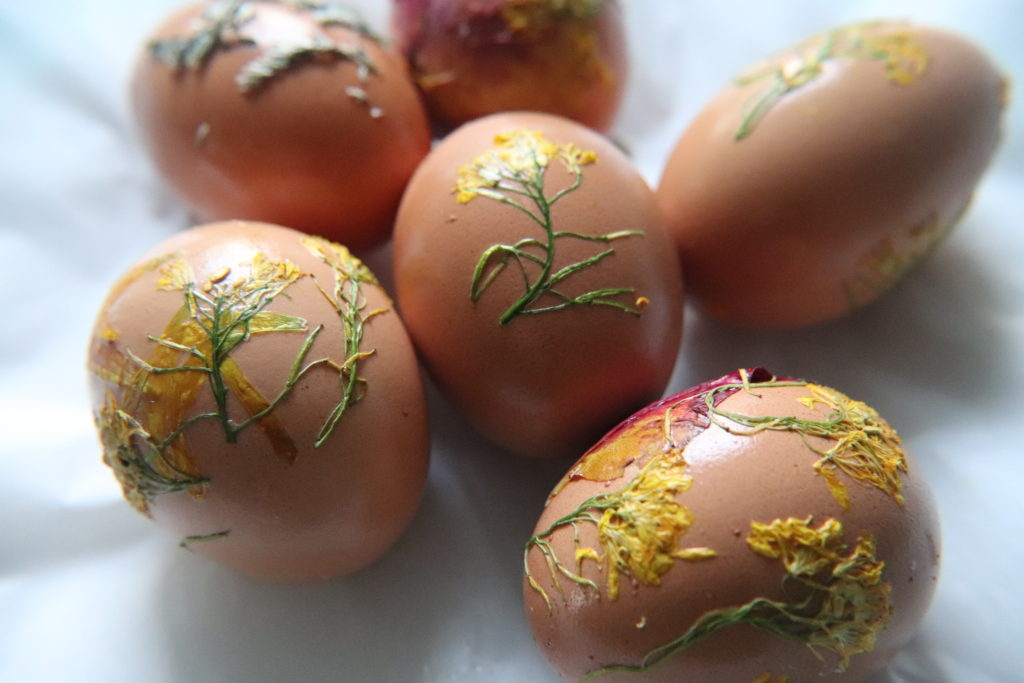
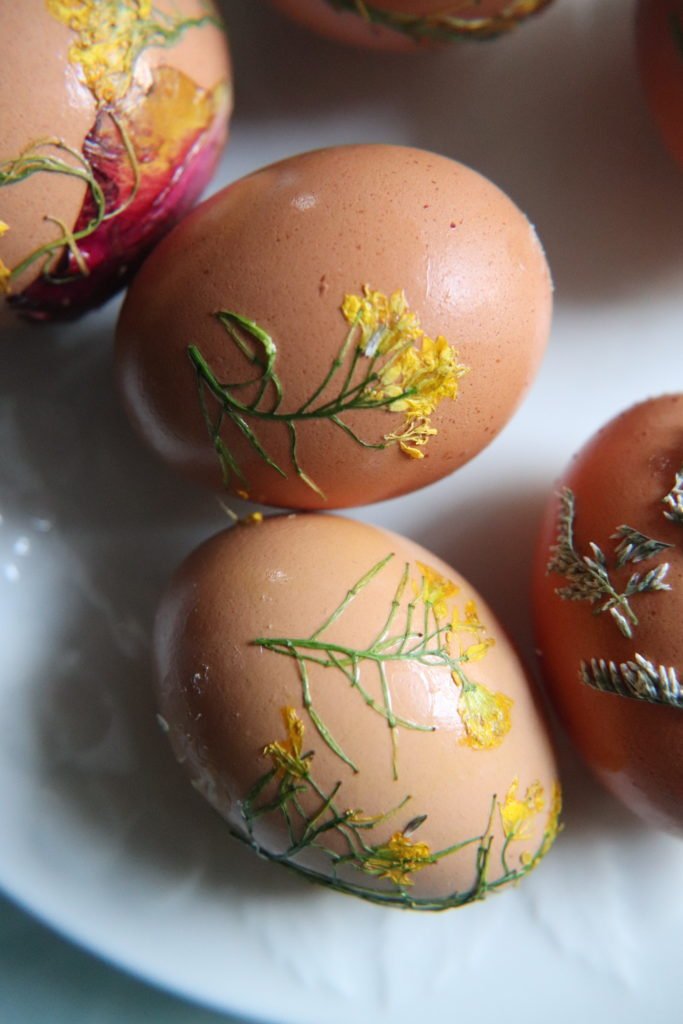
Who knew there was a shortcut to making dried flowers? I made these dried flower Easter Eggs in less than 15 minutes–seriously! See below for how to dry flowers quickly and how to adhere them to eggs for a fun craft activity over the Easter holiday.
Making instant dried flowers with an iron is a simple process that can be done in a few easy steps:
Materials
- Fresh flowers
- Parchment paper
- Heavy book
- Iron
- Scissors
Steps:
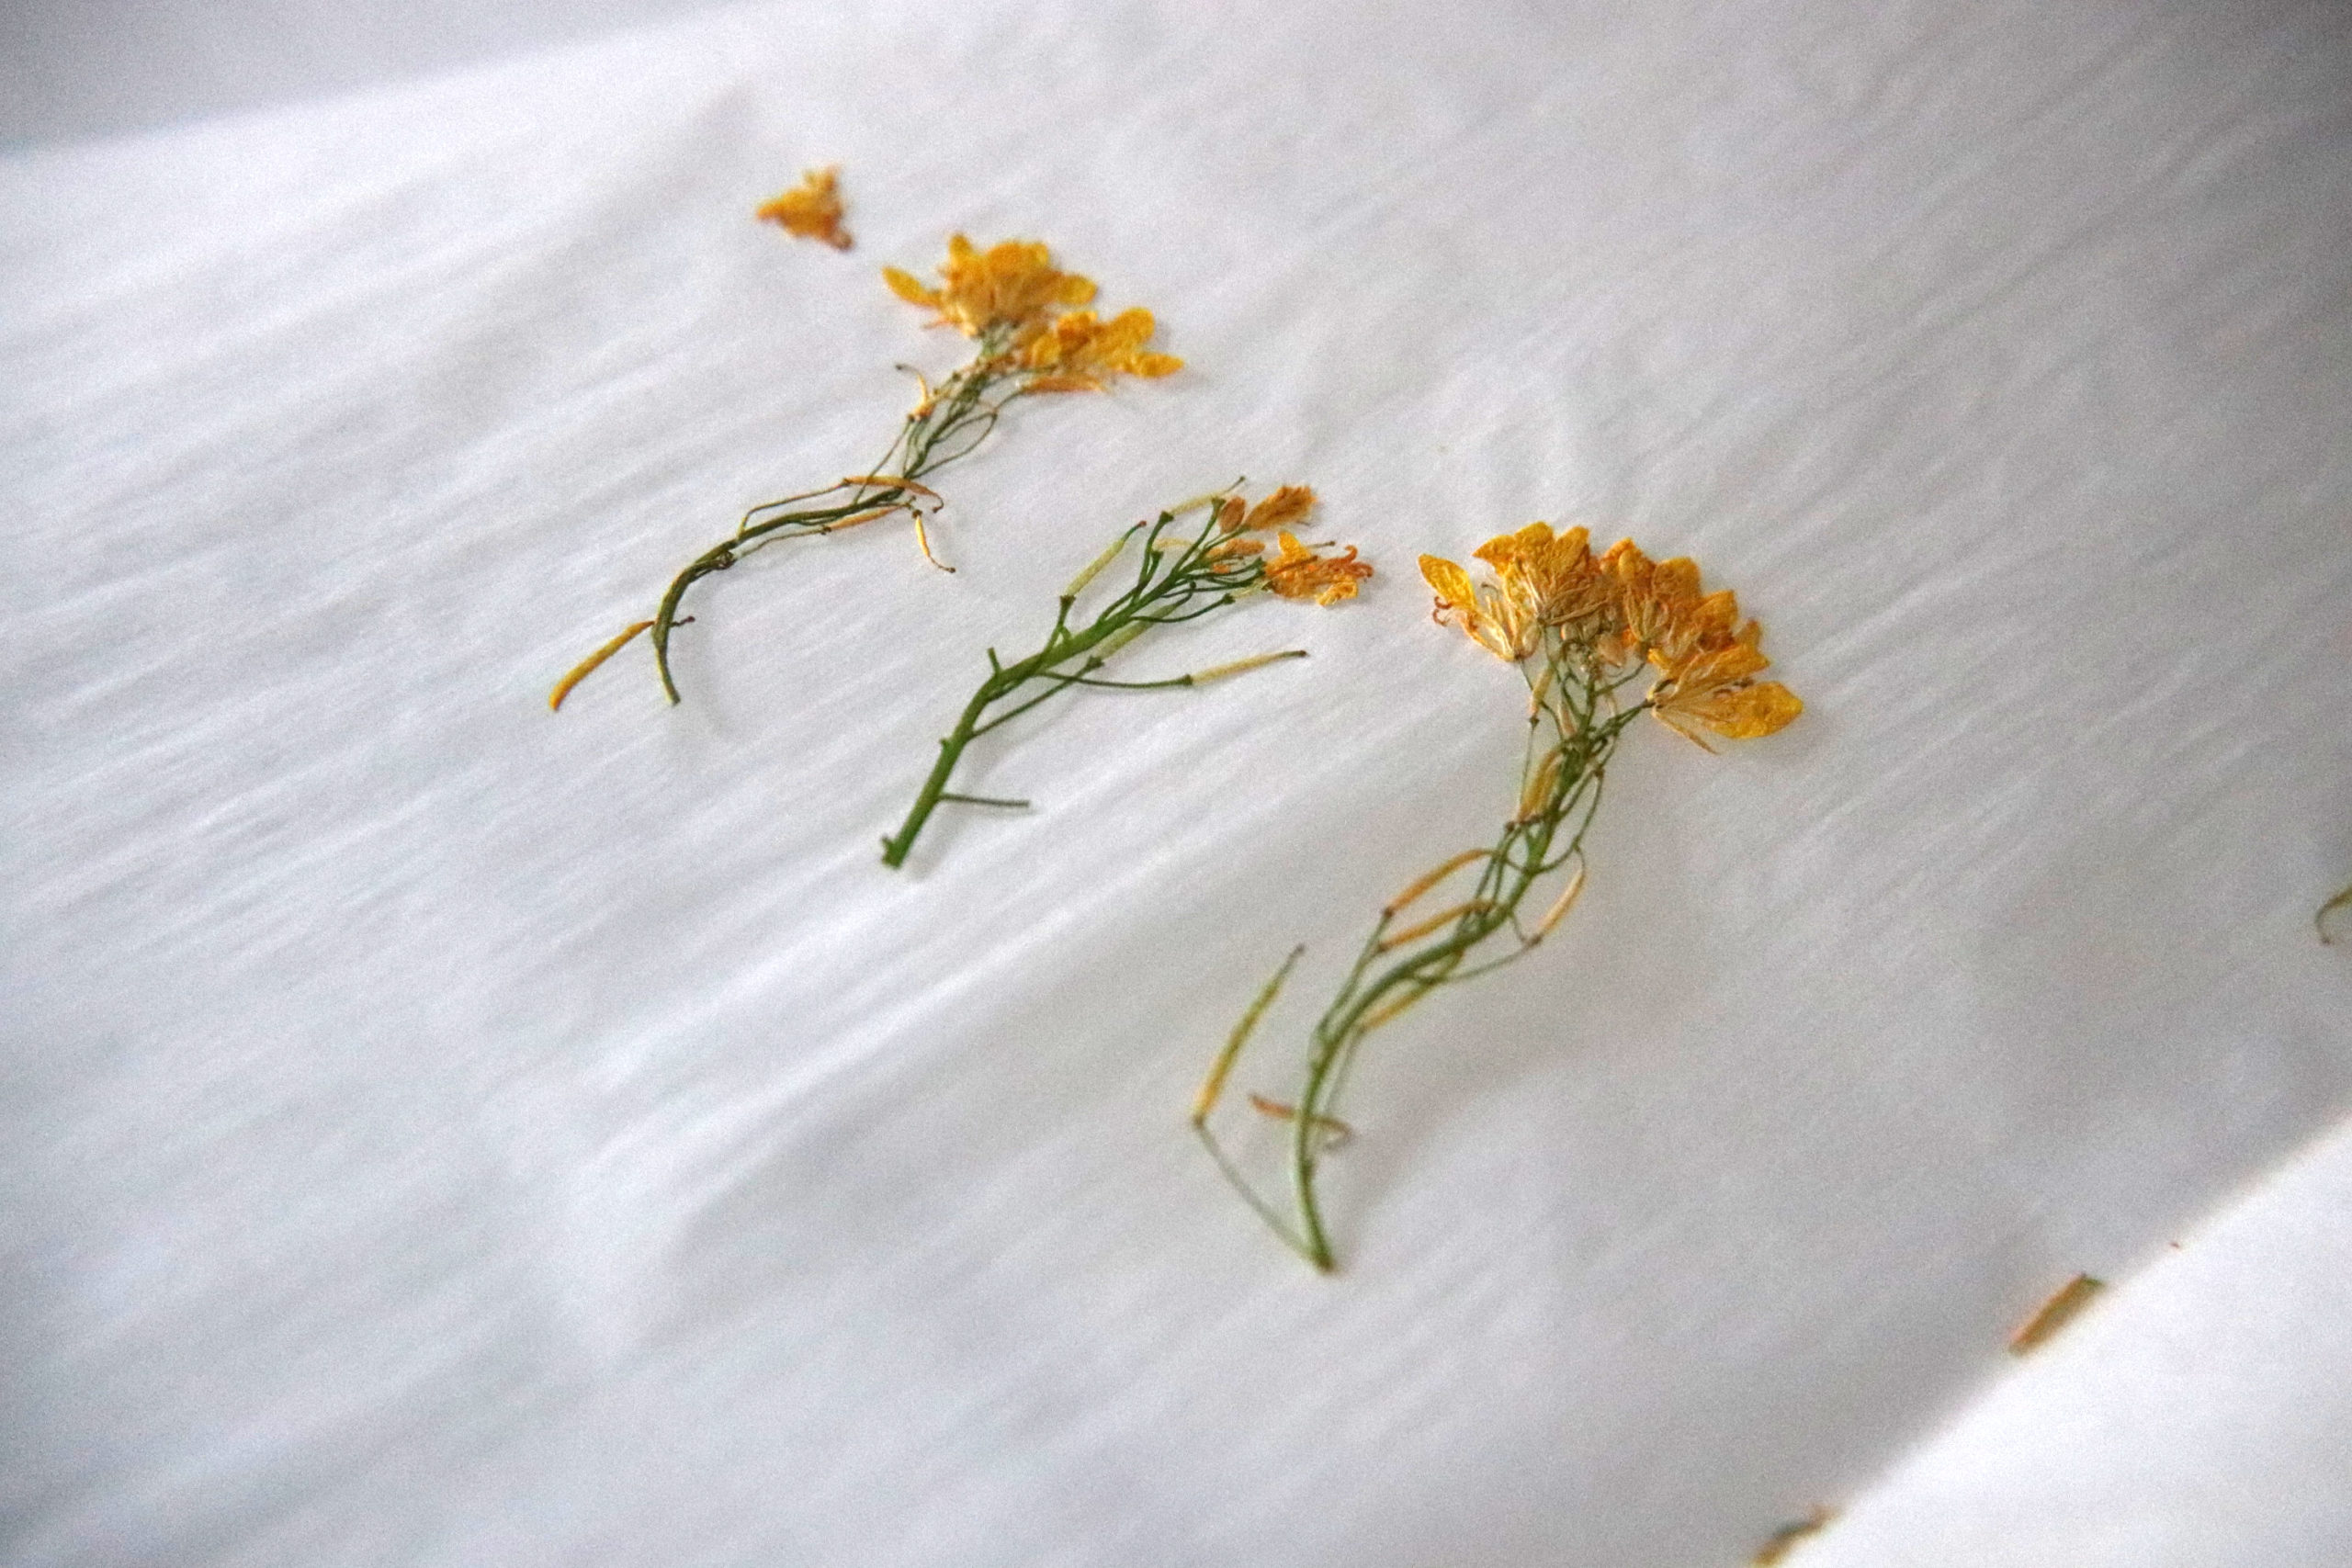
- Choose the flowers you want to dry. Make sure they are fresh and free of any water droplets or moisture.
- Cut the stems off the flowers, leaving only the flower heads.
- Place the flowers on a piece of parchment paper, making sure they are not touching each other.
- Fold the parchment paper in half, sandwiching the flowers between the two halves.
- Preheat your iron to a low heat setting.
- Gently press the iron onto the parchment paper, applying gentle pressure for about three to five seconds.
- Remove the iron and check the flowers. If they are not completely dry, repeat the ironing process for another 10-15 seconds.
- Once the flowers are completely dry and flat, remove them from the parchment paper.
Your instant dried flowers are now ready to use.
Note: Be careful not to burn the flowers with the iron. I pick up the iron after three to five seconds about four times. That usually does the trick and keeps the flowers from burning. For larger flowers with a thicker stem, you will need to apply the iron for an extra 10-15 seconds.
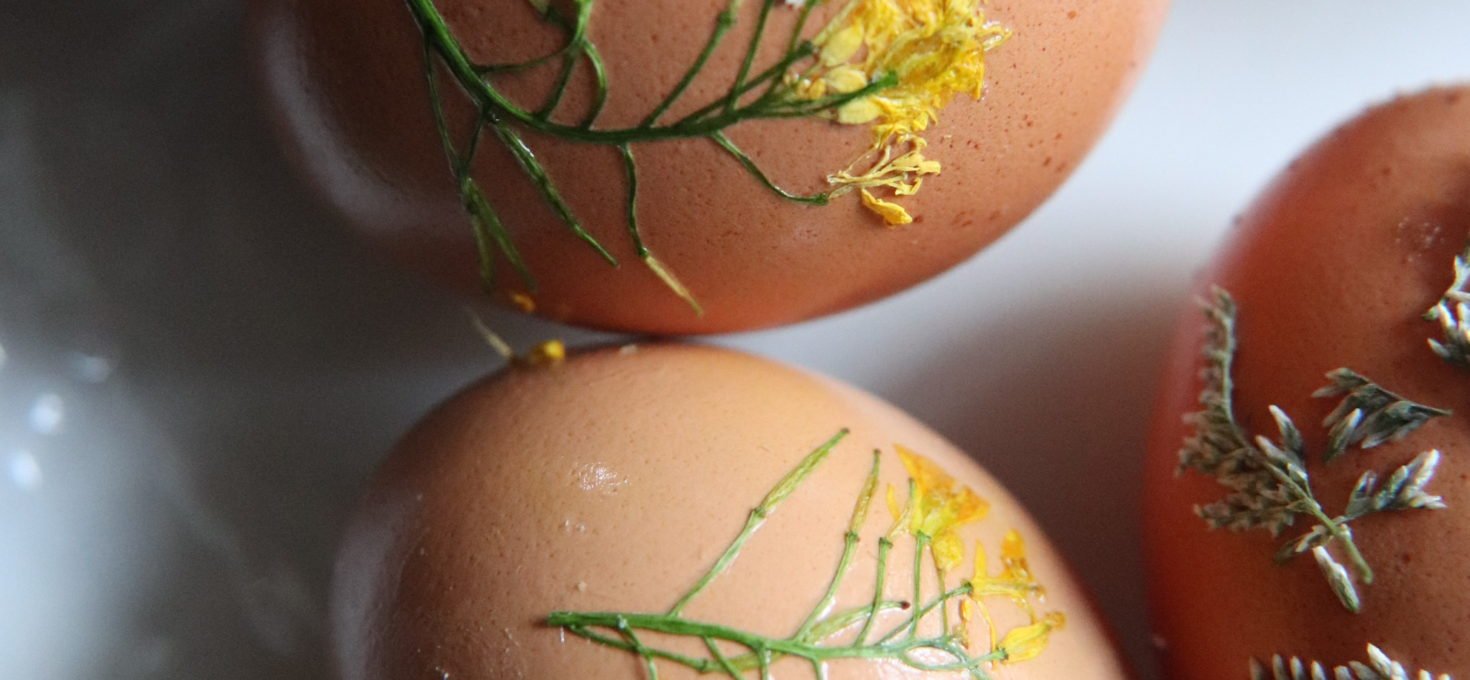
Next, adhere the dried flower petals to the egg.
OR
Don’t and use them for something else!
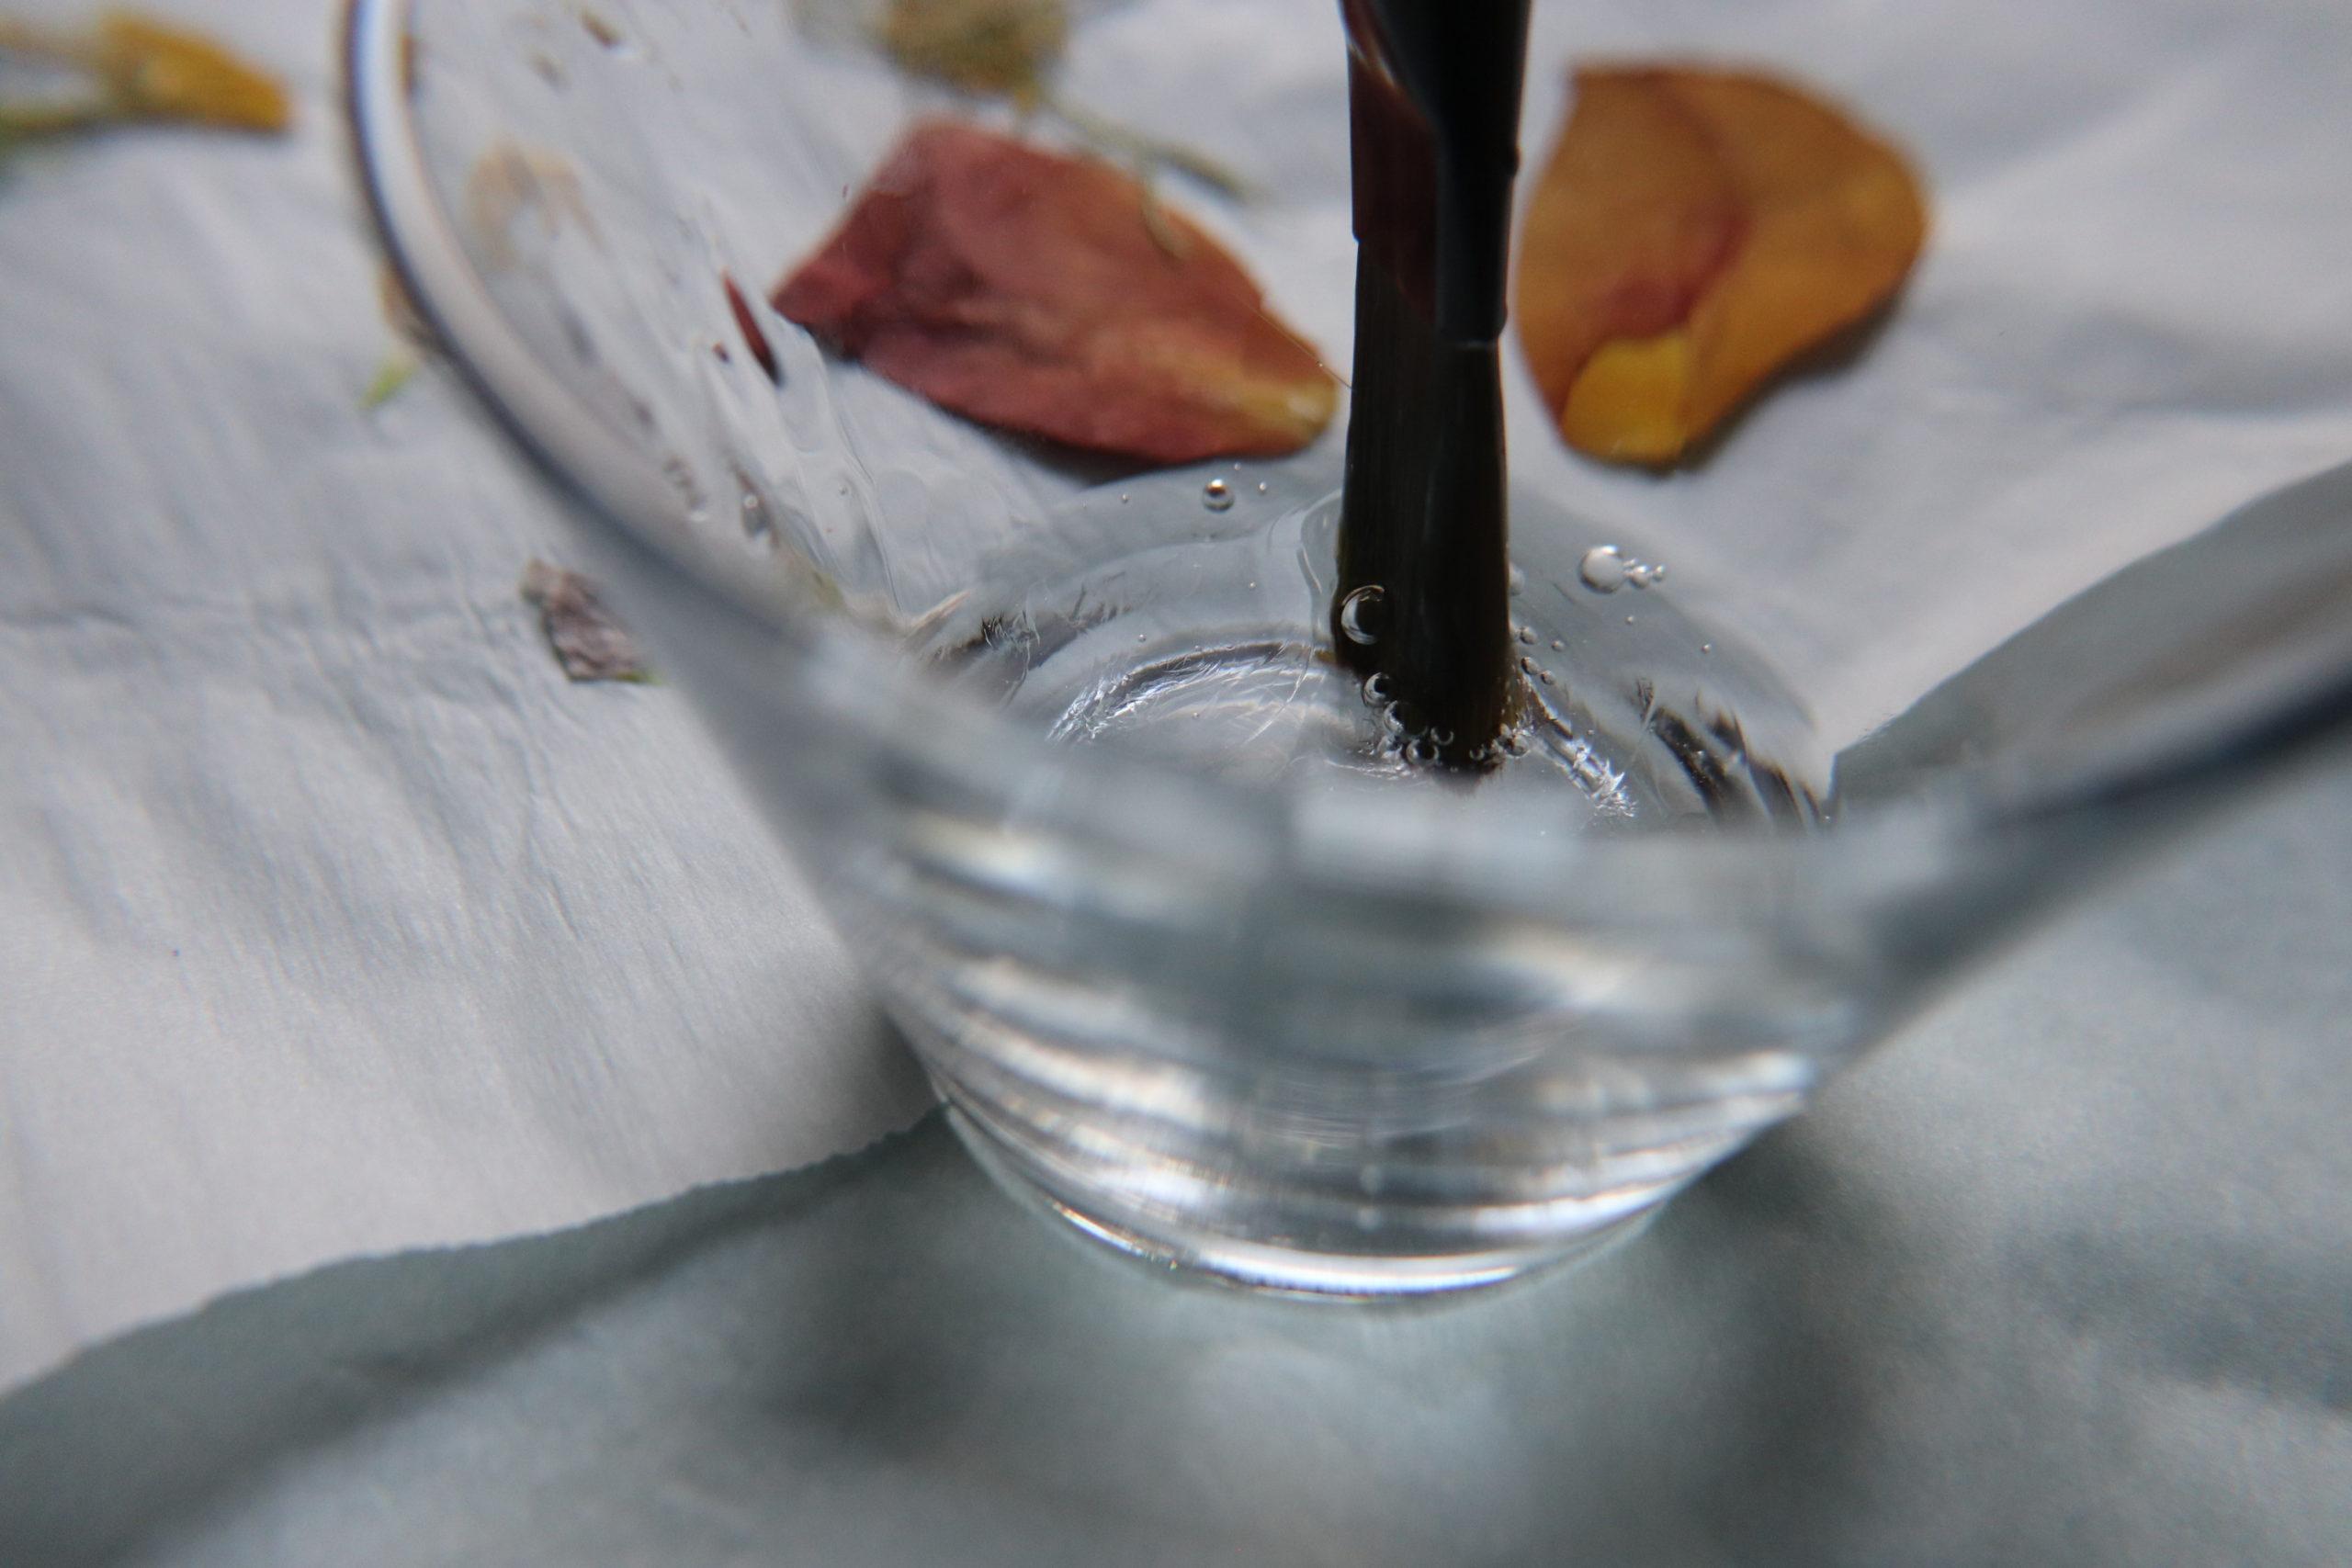
I used Elmer’s glue (the clear kind) and a bit of water: One part water and two parts glue. You can also use the white liquid Elmers (it will dry clear)l. The nice thing about this glue is you can find it in the grocery store usually near the greeting card aisle.
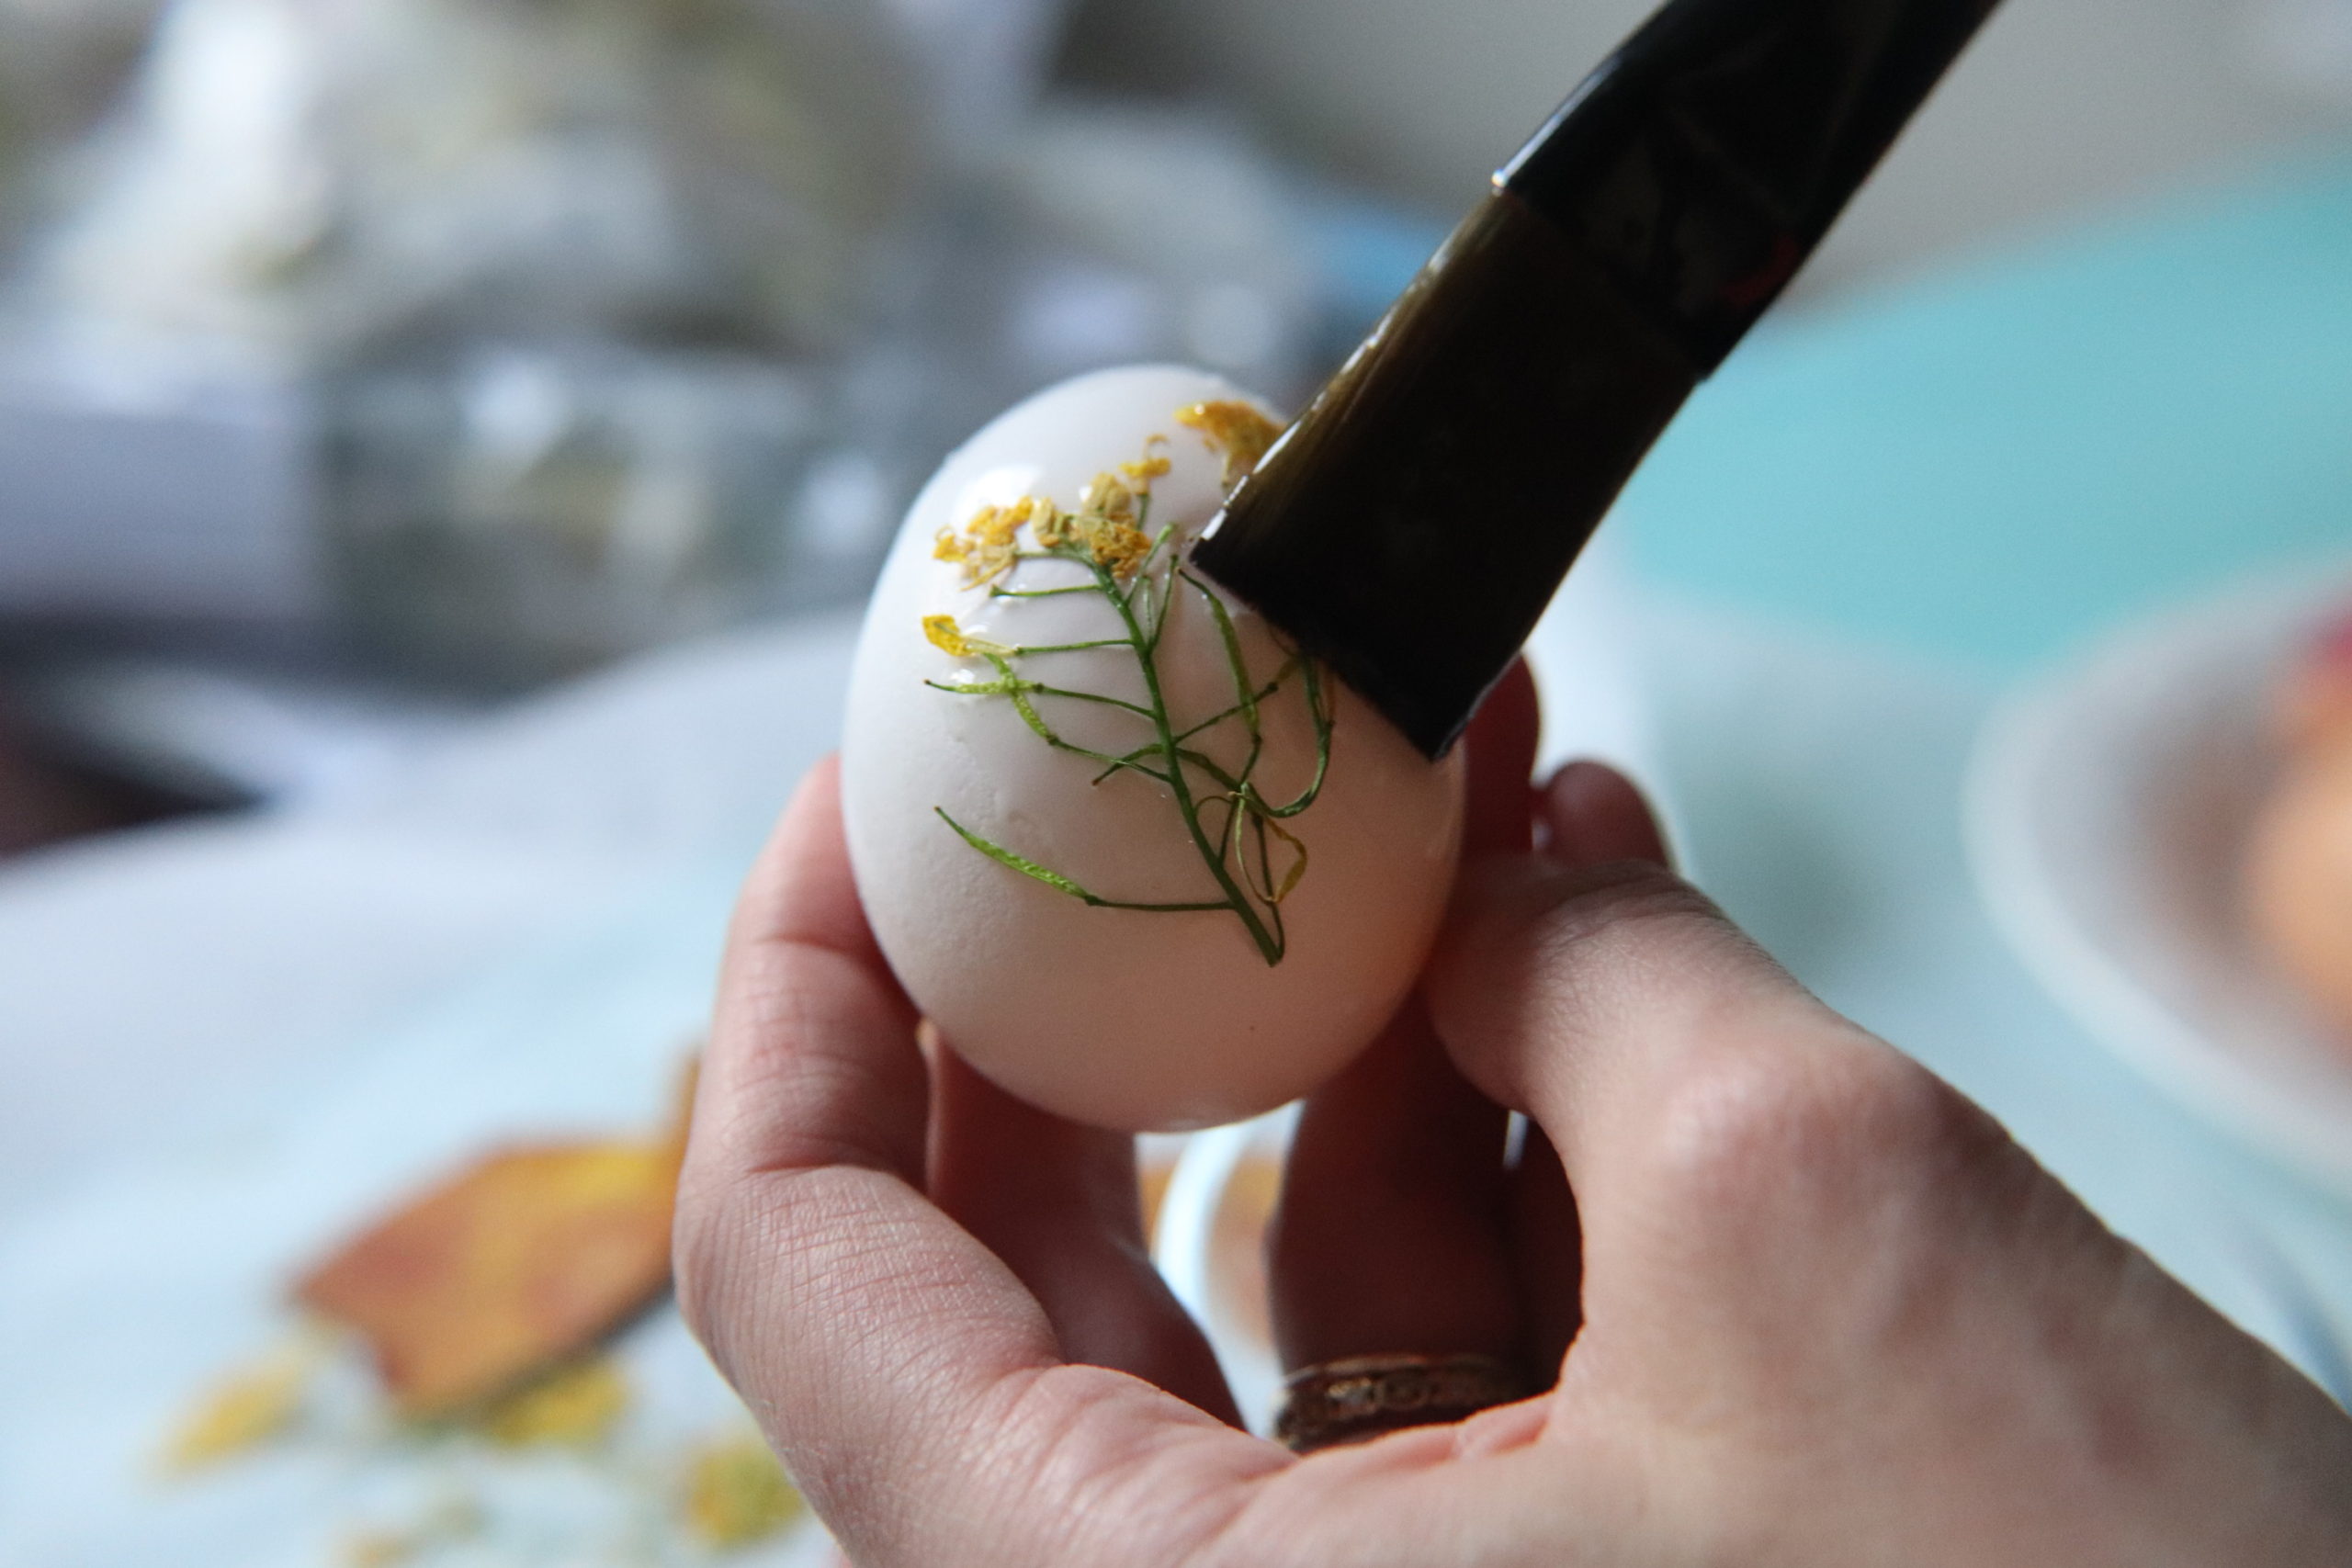
Use a brush to gently apply the glue over the flower. You might get a little sticky—don’t say I didn’t warn you!
Note: I like to apply glue to the eggs before I place the flower. It keeps the flower in place as you cover it with glue.

The reason I’m calling these “dried flowers” instead of “pressed” is because there was no pressing involved. Although, if you have the time, you can always press your flowers ahead of time for this project.
Grab a heavy book and insert your flowers between two pages (use parchment paper to protect the flowers from sticking to the book). Wait about 2-3 weeks and in the words of my father…” presto chango!”
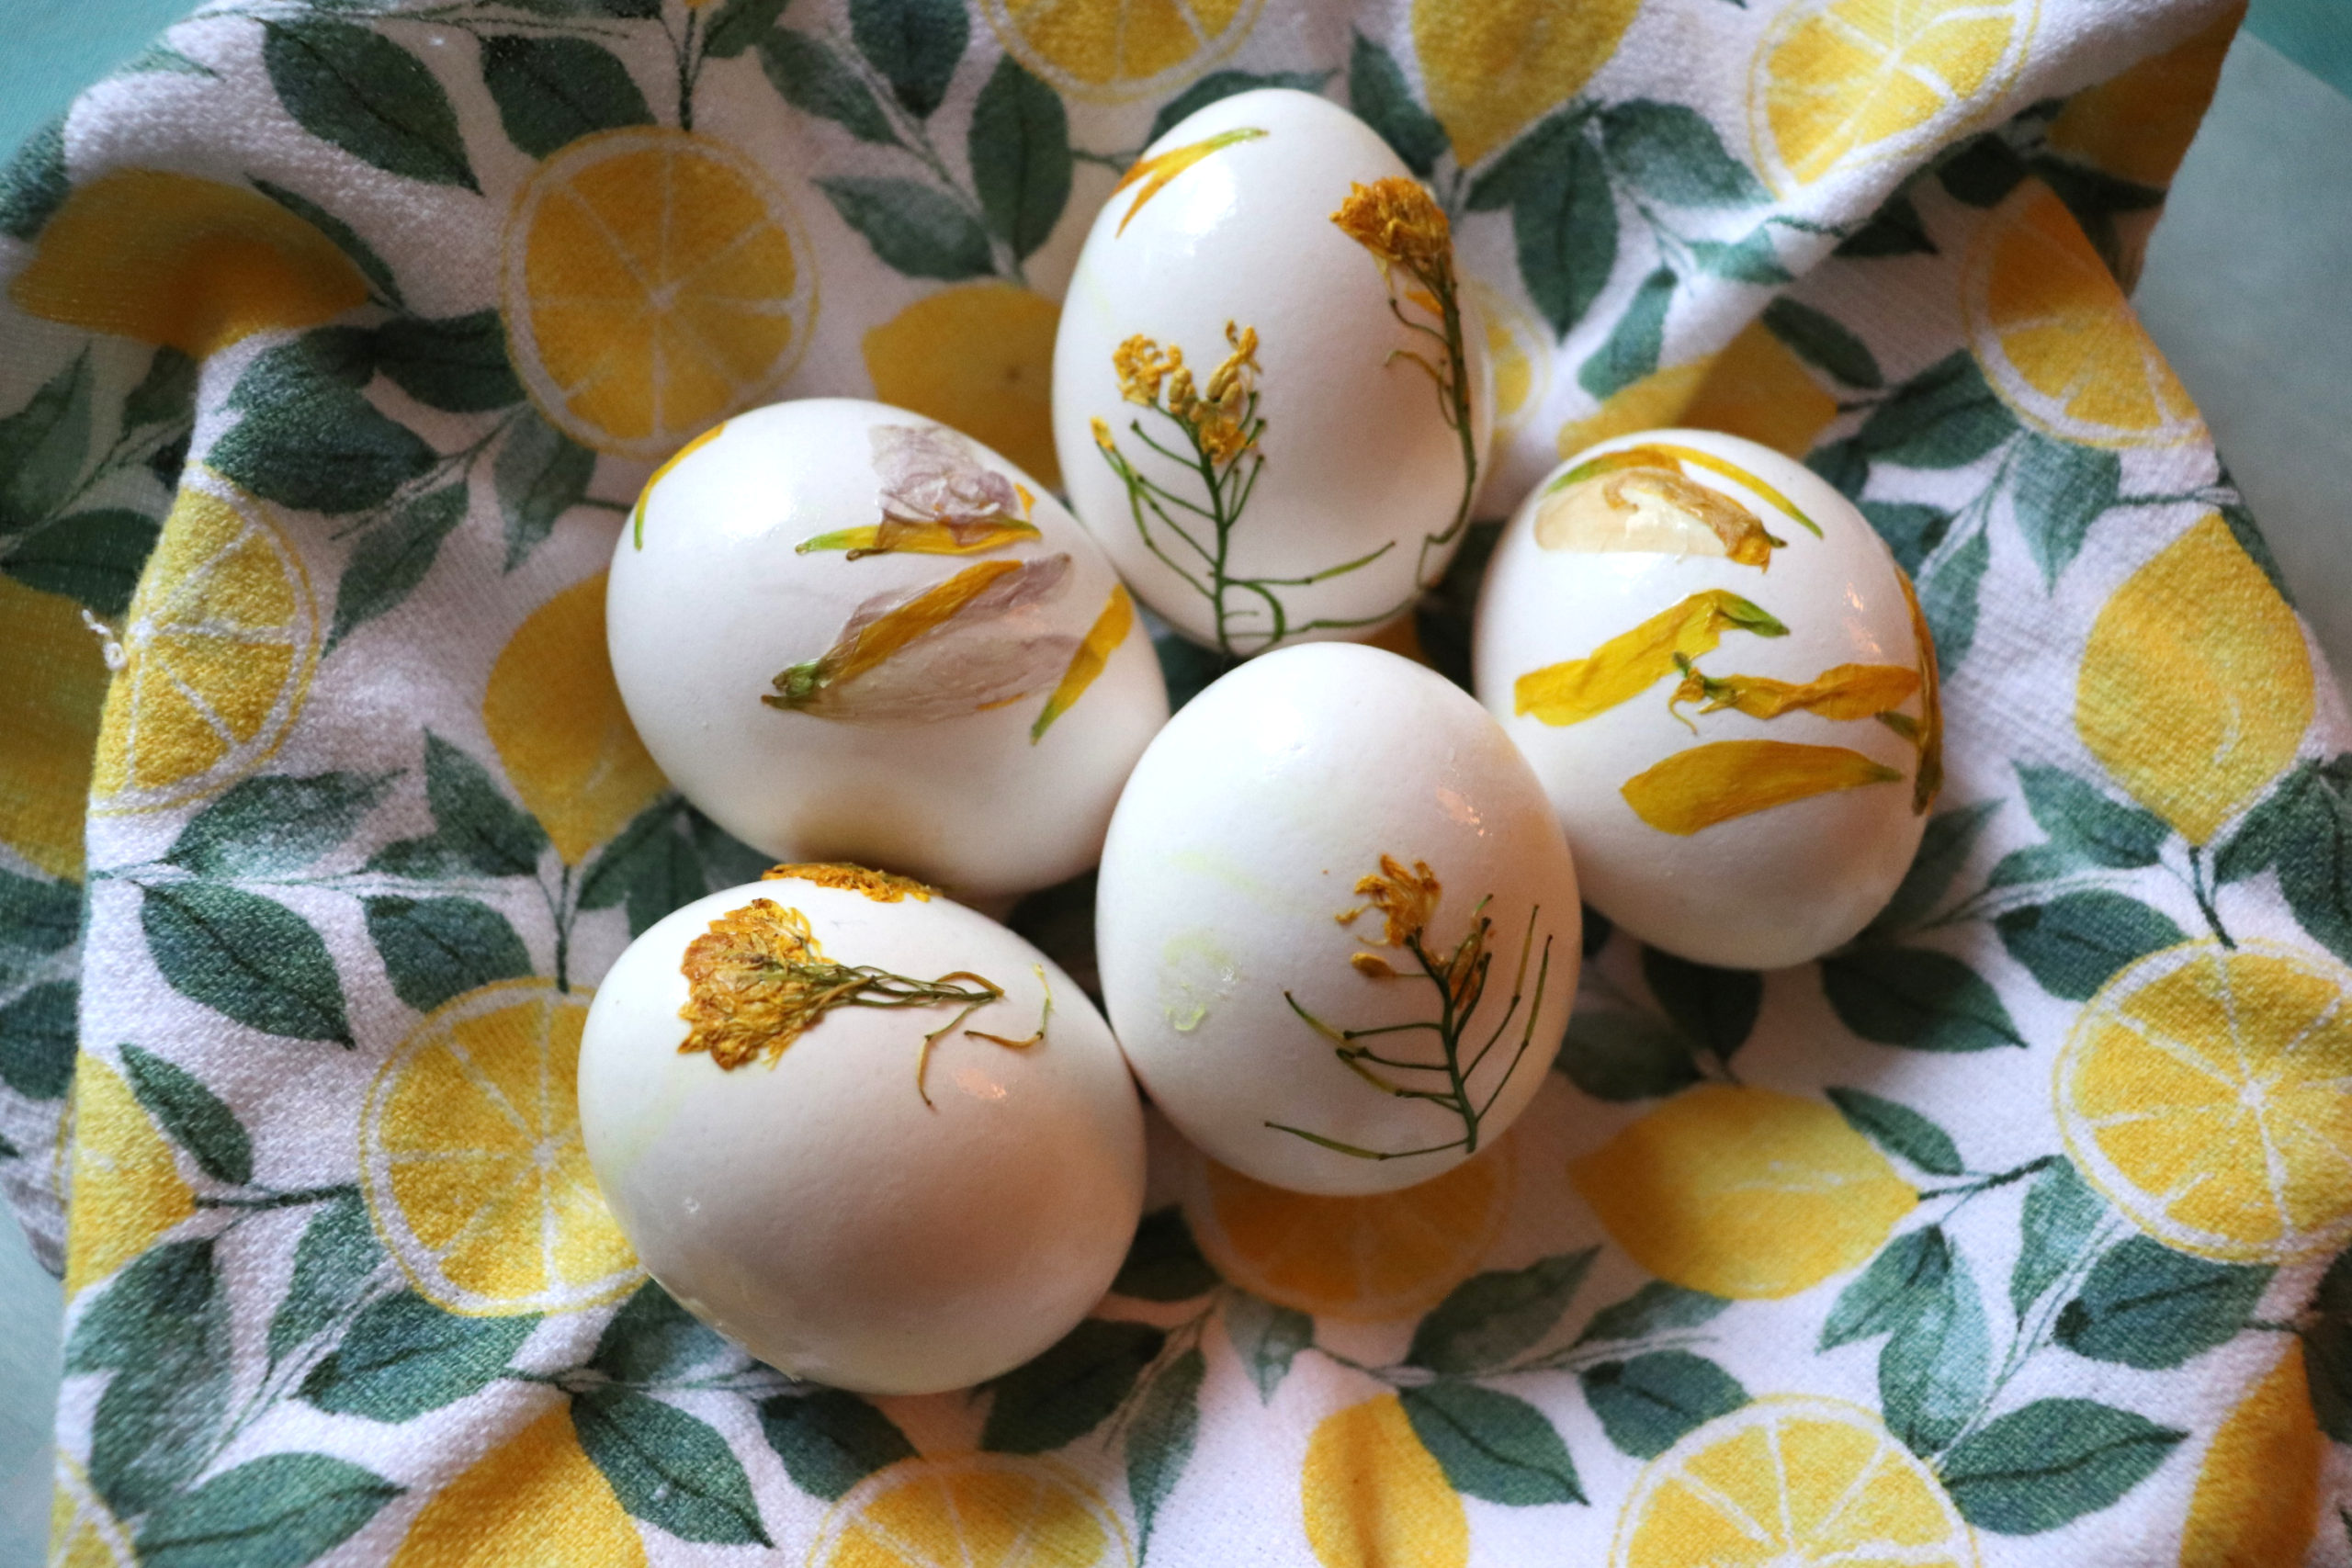
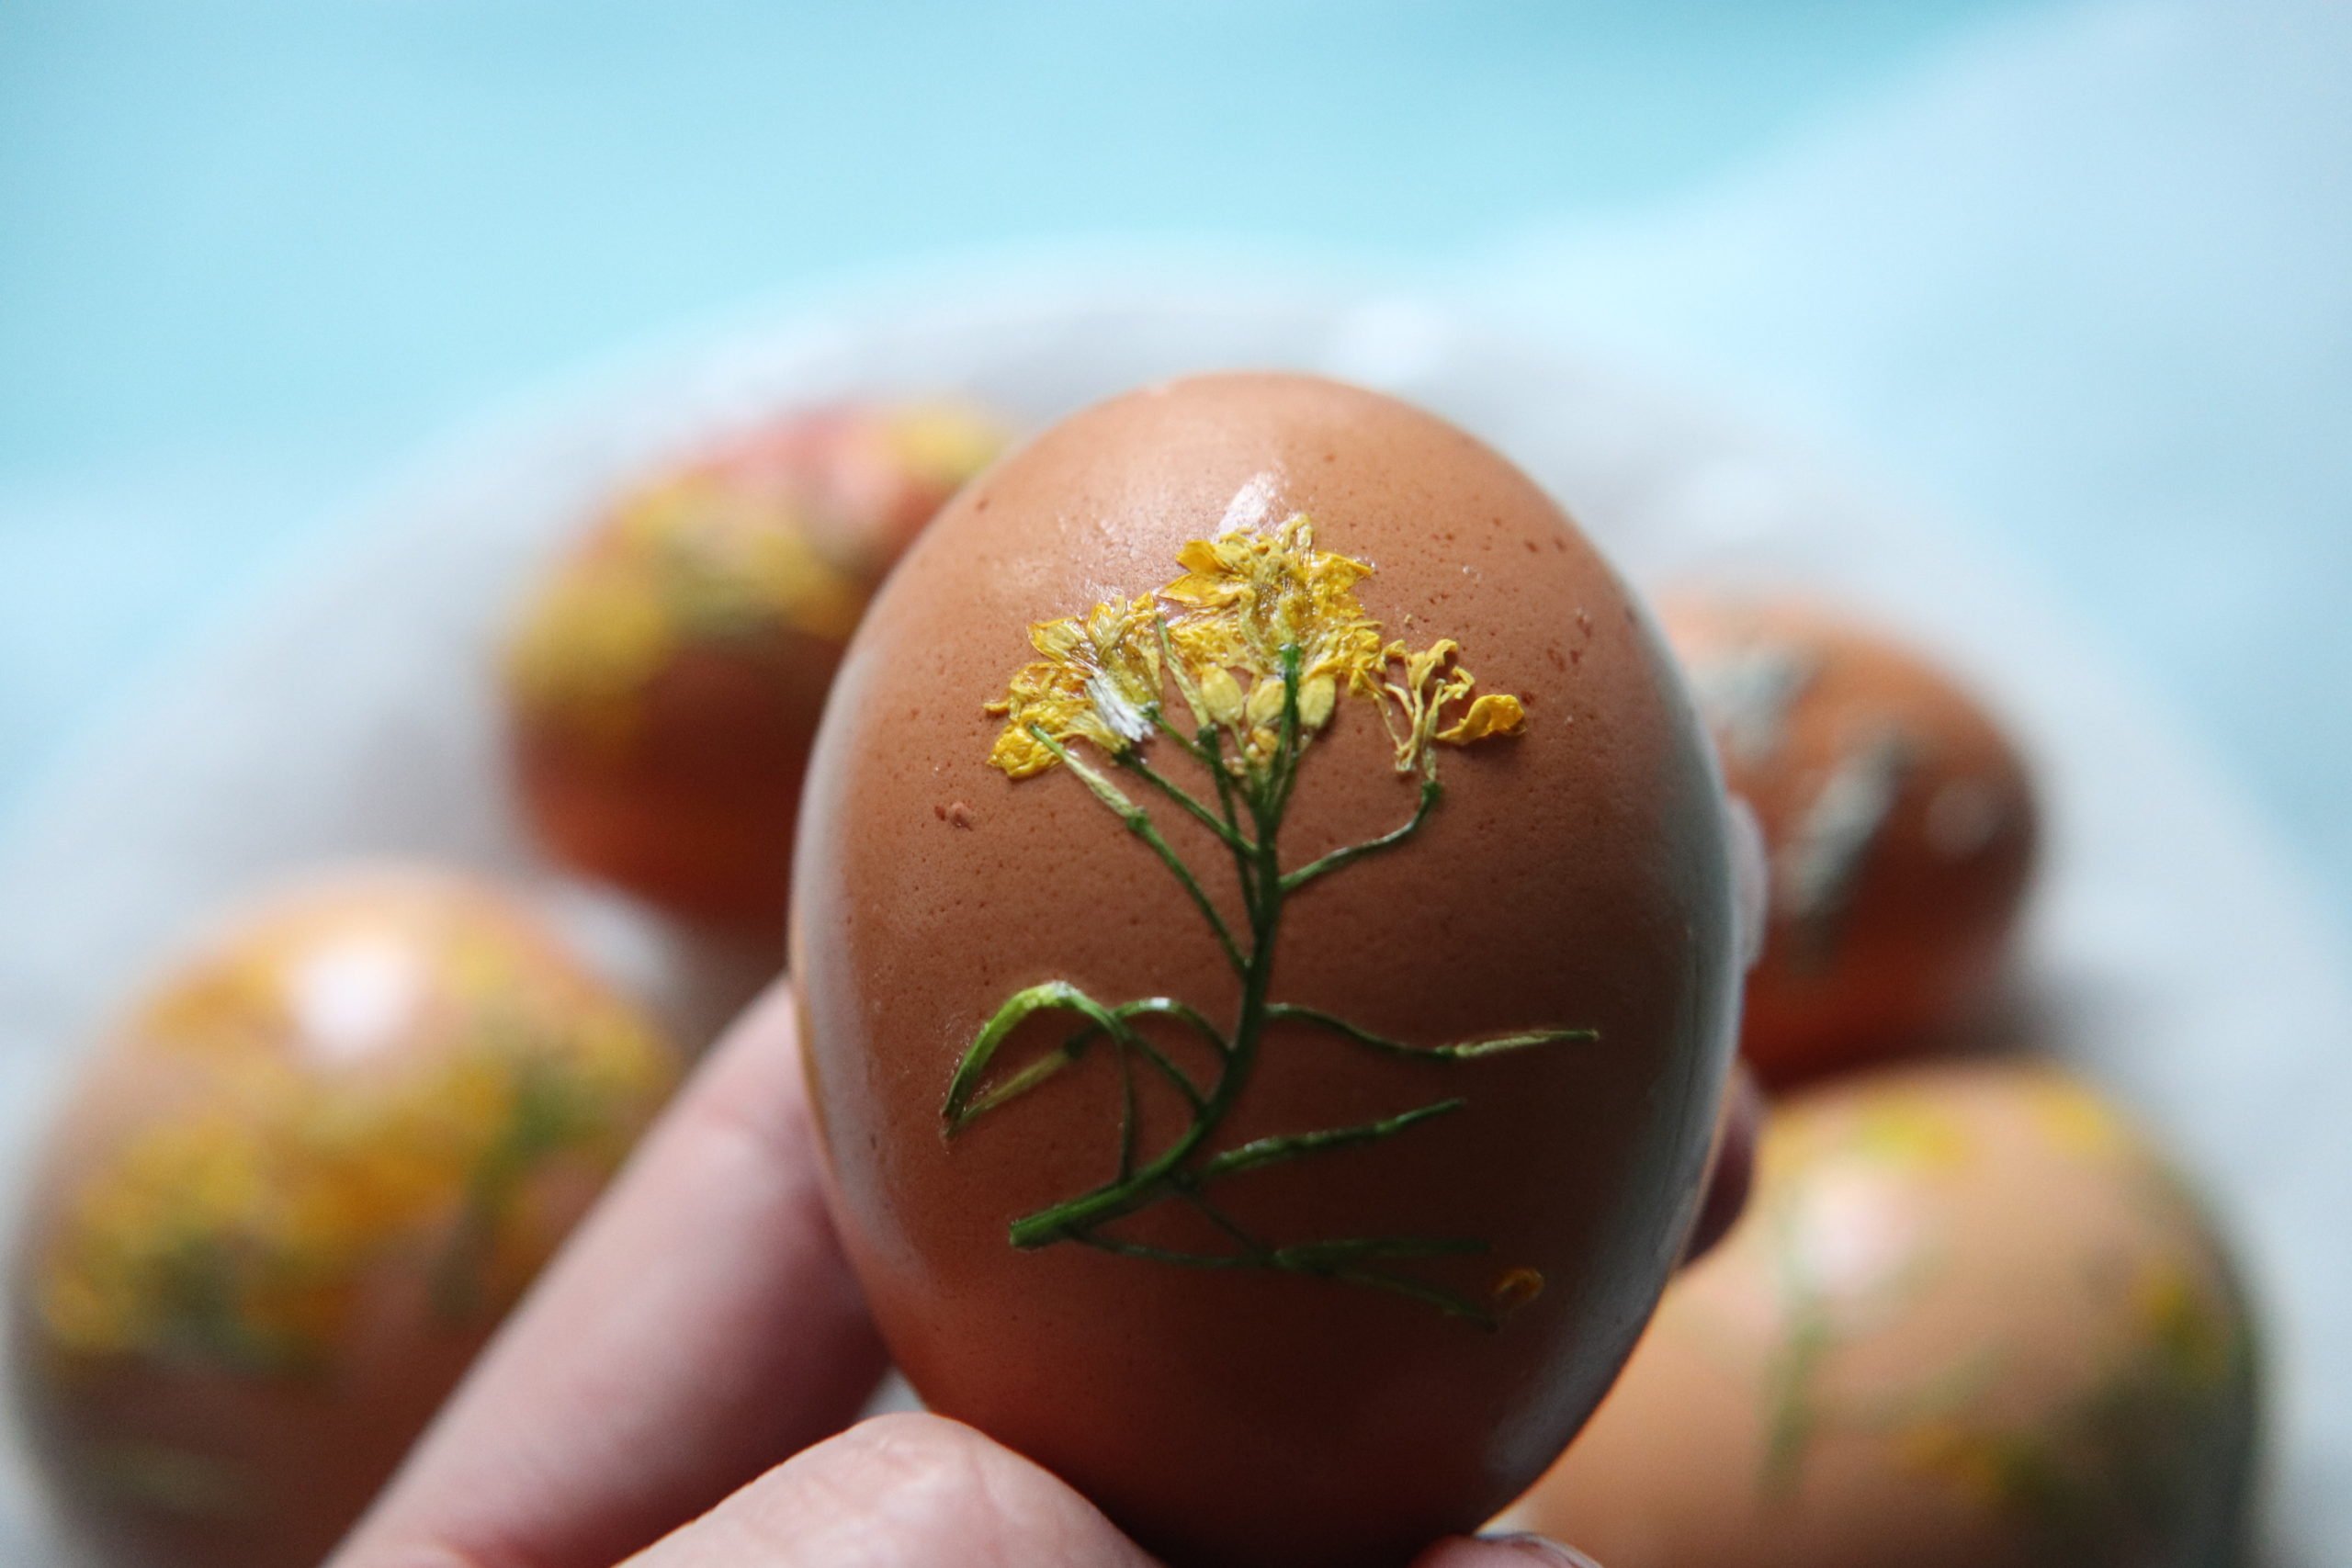
Let the eggs dry for about an hour. You can boil your eggs first or make them hollow. I used yellow flowers from a bouquet I recently bought at Front Porch Sundays in Charlotte. Next, I’d like to try pansies or create a more botanical look.
Happy creating!
~ Alexandria