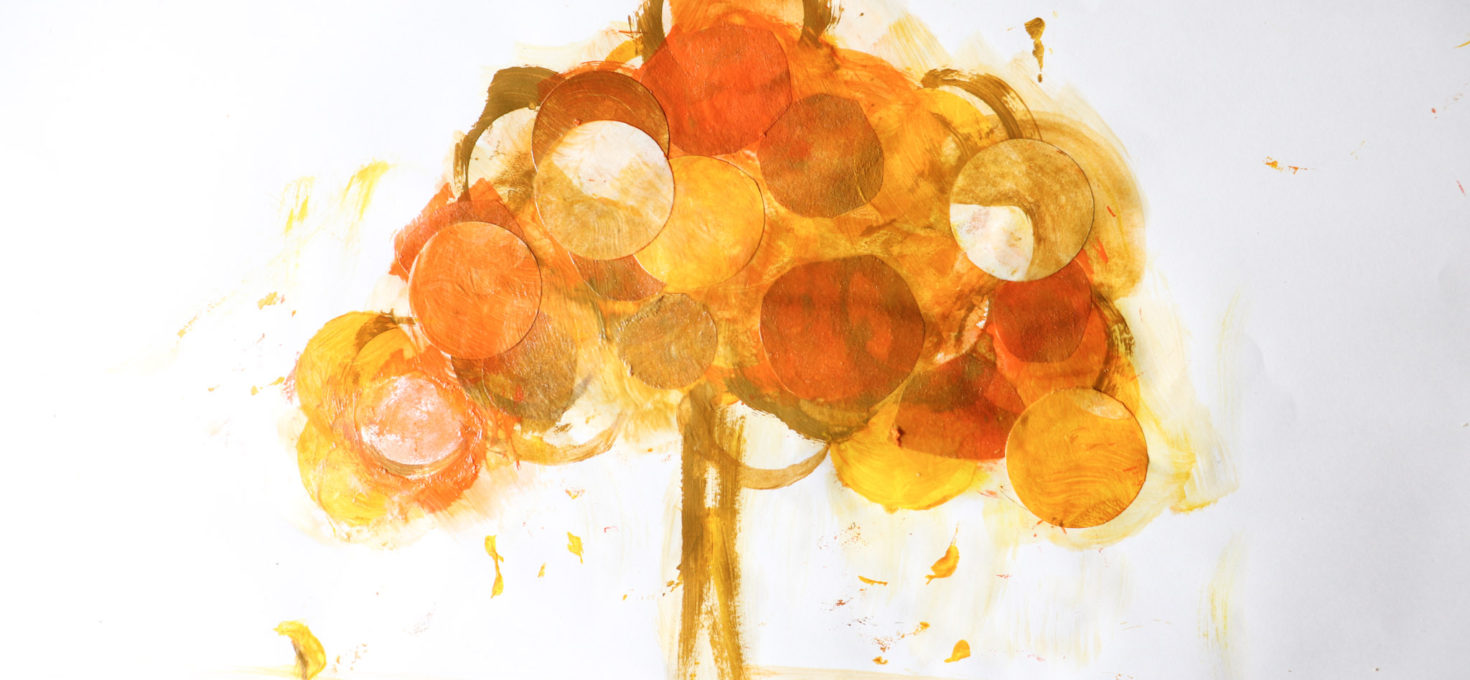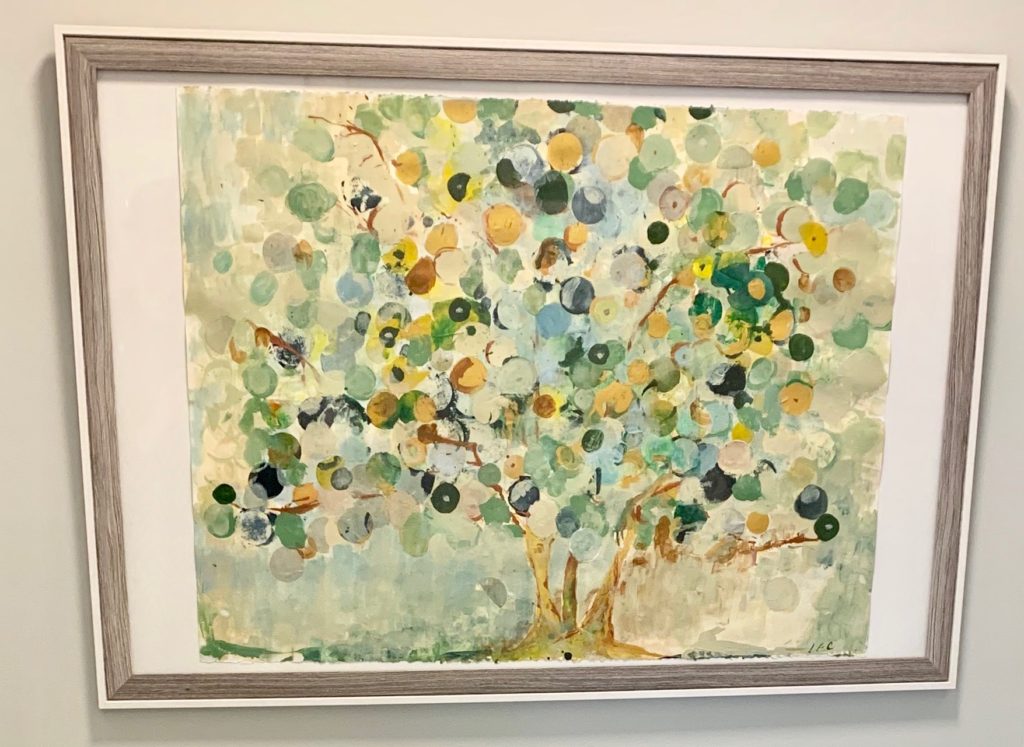
As a former art teacher and art therapist, I am always thinking in the mindset of adaptation: how can I adapt this art piece into an art project for individuals with special needs? OR How could I make this into a children’s art project? The habit is both a blessing and a curse but fun, nonetheless!
While I was working on the Money Tree Painting (above) I recognized the repetitive, pattern like process that is commonly found in art activities for individuals with disabilities. So, I finally found the time to sit down and modify the Money Tree Painting into a step by step art activity for children and/or adults with special needs!
How to Create an Autumn Tree Collage
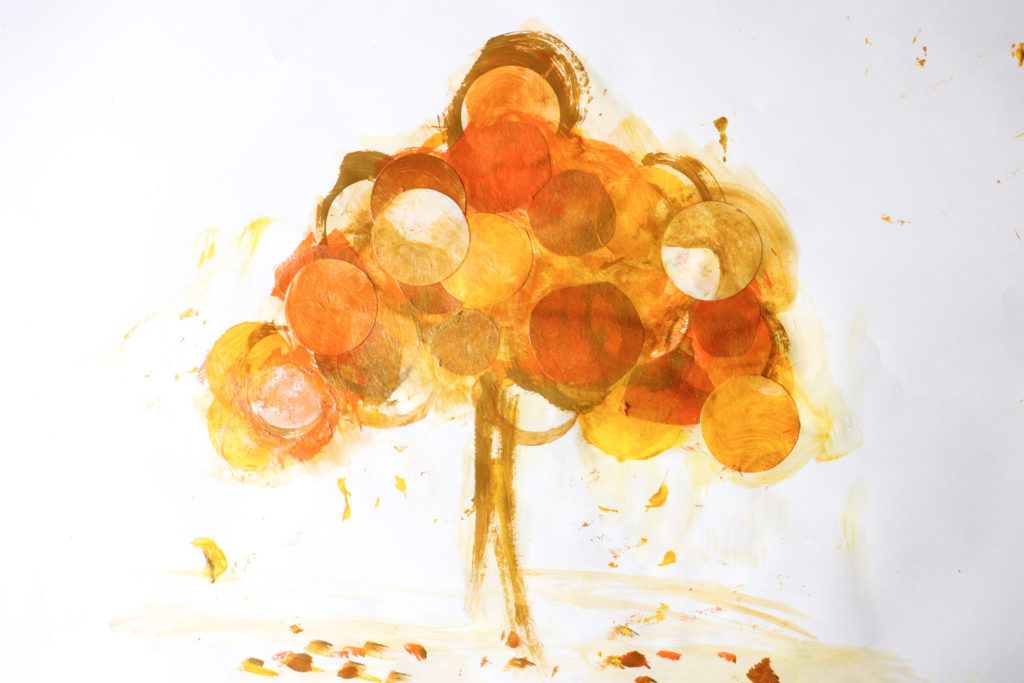
One of the great things about collage is that it is impossible to make a wrong move! The medium is very forgiving. Hence, the Autumn Tree Collage is perfect for children or individuals with disabilities.
Step 1:
Activity prep! Before you get started, take scissors or a paper cutter and make circles out of paper and/or coffee filters. I used both paper and coffee filters because I liked the look you get with each. Coffee filters will absorb the paint and produce a more muted version of your pigment, while the paper will serve as a stencil or opaque collage material.
Note: keep the paper you cut holes in, we will use that as a stencil later!
Step 2:
Identify colors. Take your students (or whomever it may be) on a walk outside and identify the colors in the leaves. Take a leaf back to the art room and have everyone pass it around for a closer look! Meanwhile, pour each student three colors of acrylic paint that correspond with your color observations from outside. I used Orange, Yellow and Bronze -Yellow but you can use any colors that blend well together.
Note: Its always a good idea to show your students a sample of the final product before you get started. So, make it ahead of time to show as a visual!
Hand Over Hand : Adults with Special Needs
This project may require some hand over hand or 1:1 assistance depending on the age or level of functionality of the student. Also, this project involves using your fingers in paint so if you have a student that is uncomfortable with tactile sensations, you may want to do that part for them.
Step 3:
Collage! Place the paper circle on the paper and brush the acrylic paint over it. Remove the circle to reveal an outline of where it was. Repeat a few more times.
Step 4:
Place the coffee filter circles on top of the circle outlines and apply paint over top until they stick to your canvas or paper. Next, use your stencil to create another layer of circles. Repeat until you have formed a tree shape.
Note: Depending on skill level, it may be helpful to pre-draw a tree shape on the paper for your students to fill with circles. This can be a nice exercise on identifying and respecting boundaries.
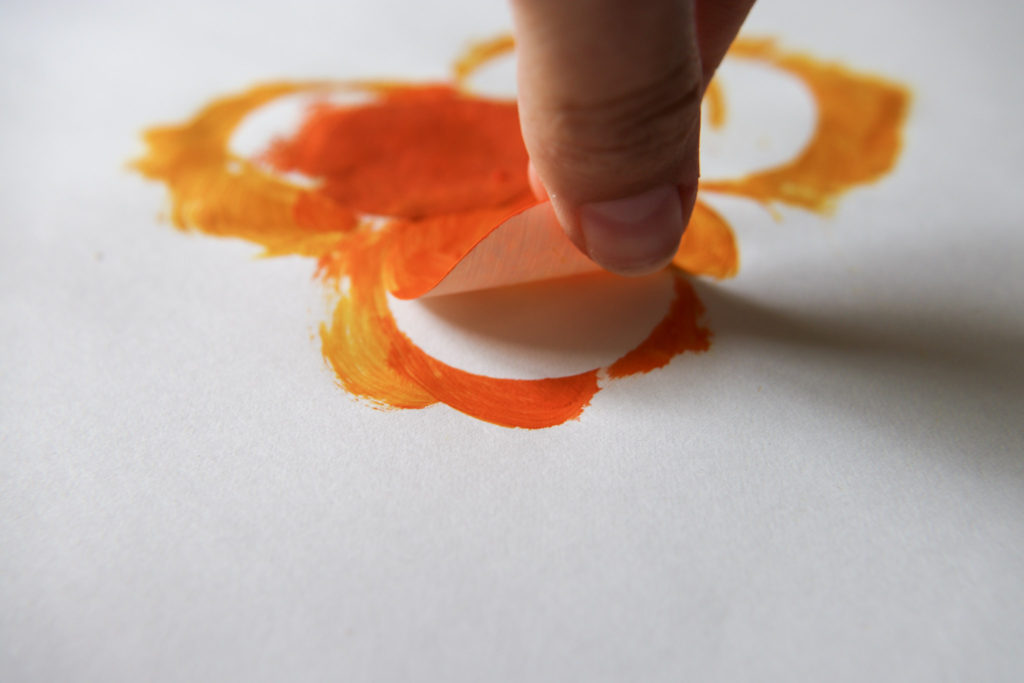
Create Circle Outlines 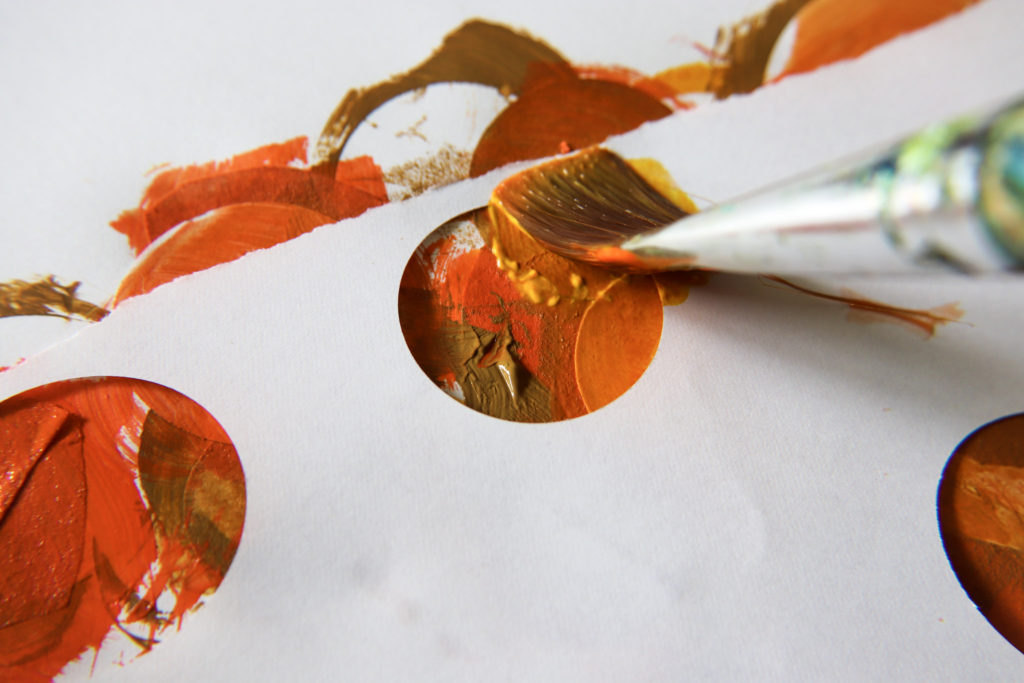
Use Stencil on Top of Circe Outlines
Step 5:
Draw the tree trunk. Have the students identify the color for the trunk and draw a thick line coming down from the leaves to the foreground. Lastly, once dried, use a Matte or Gloss Medium to seal the collage. Apply a thin layer of the medium with a paint brush- less is more! The medium will dry clear.
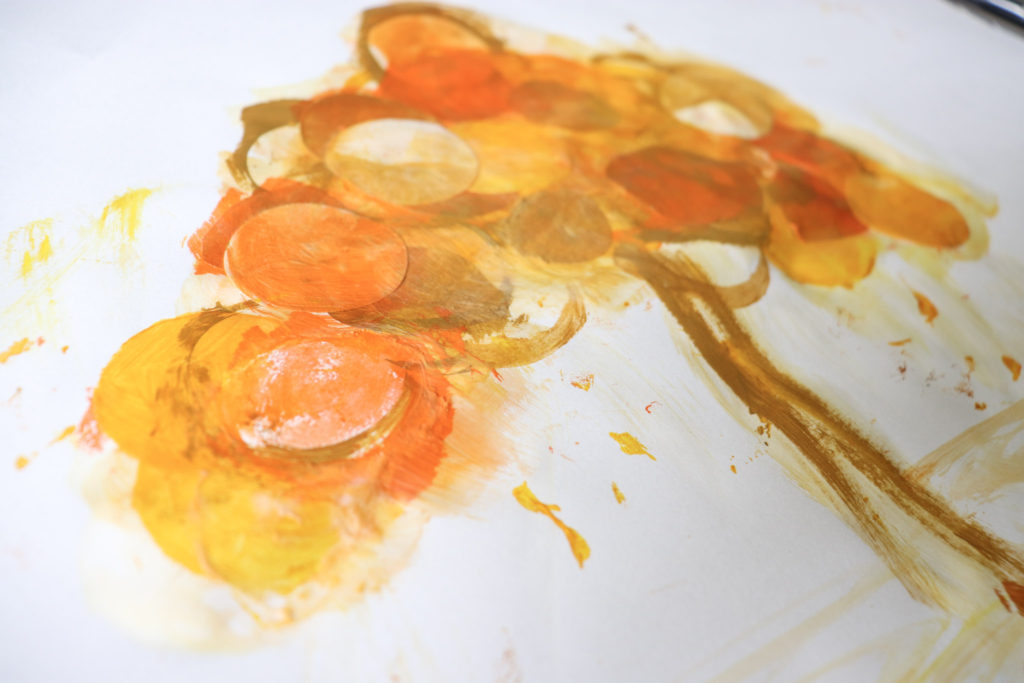
Tip: if you are working with young children, you can eliminate steps and only work with coffee filter circles and a paint brush. This will work just as well!
Again, its hard to find a wrong way to do this project. So, don’t be afraid to get messy and see where you end up! Make these into thank you cards , invitations or honorary refrigerator art!
What You Will Need
- Paper, canvas, greeting card (surface of your choice!)
- Acrylic Paint ( 3 colors)
- 3 paint brushes
- Scissors or paper cutter
- Coffee filters
- Matte or Gel Medium
Time: 30min- 45min
