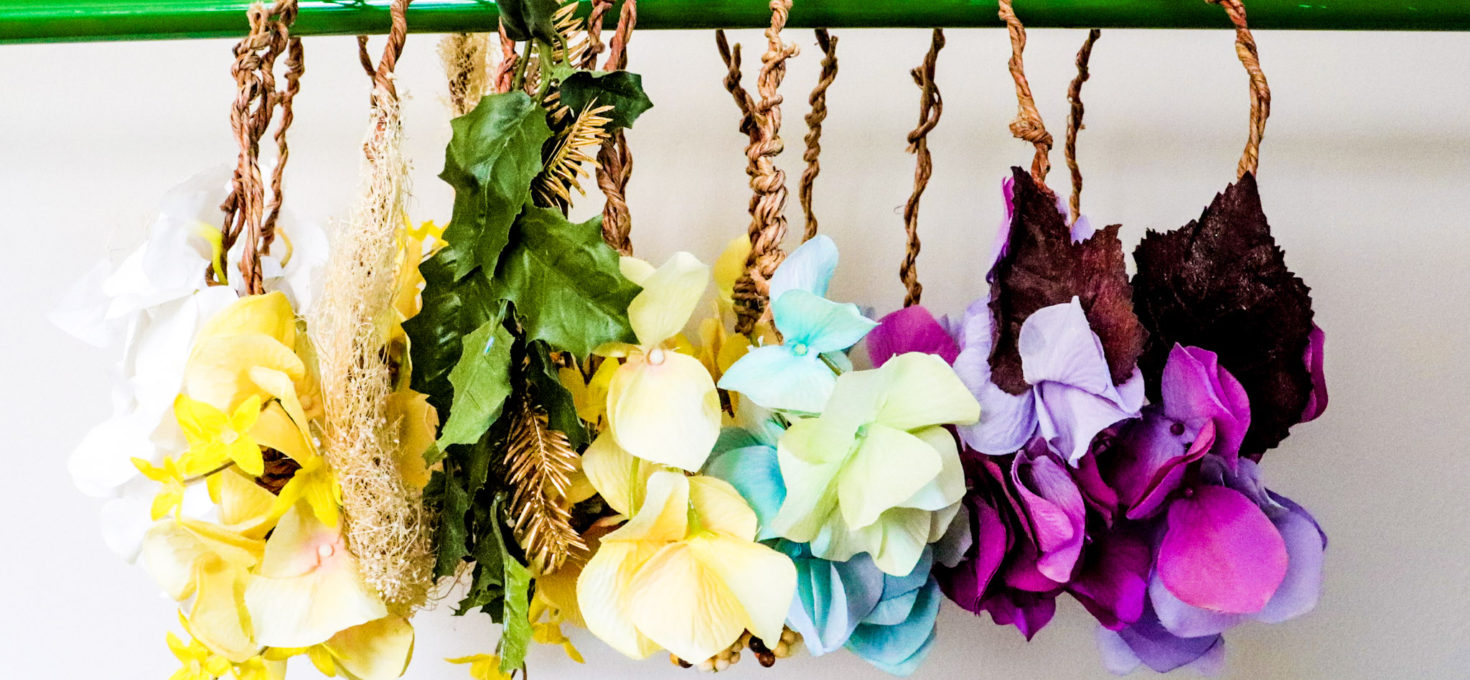
Anyone else NOT a fan of hot glue? The messy, tiny glue strands get everywhere! Hot glue can be difficult to conceal so I invented a way to make flower crowns without the use of hot glue.
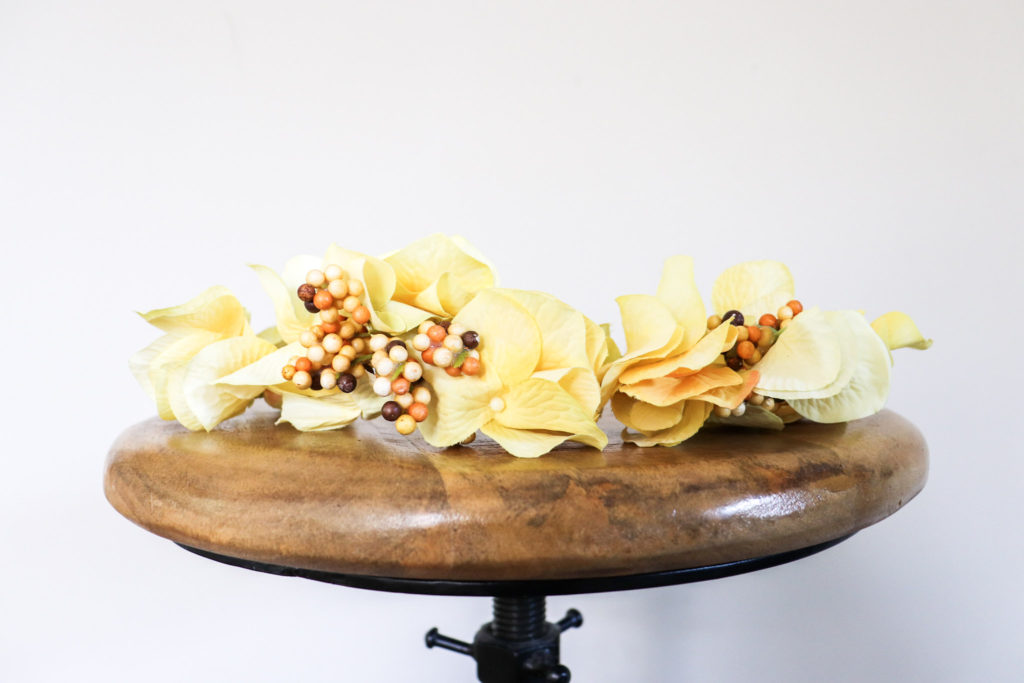
Making flower crowns is super easy and always on trend! I made flower crowns for my sister’s bachelorette party in Puerto Rico and later adapted the method to make flower hair pins for my bridesmaids. Now that halloween is around the corner, there are a million ways to incorporate flower crowns into your halloween costume:
Flower Crown Halloween Costume Ideas
- Flower Child
- Greek Goddess
- 70s Chick
- Hippie
- Fairy
- Bride
- Boho Bride
- Mother Nature
- Queen of Fall
- Christmas ( I actually dressed up as the Christmas Spirit one year and wore a flower crown as a mini-christmas wreath on my head. I wish I had pics to show you! Wear a red dress and add some christmas light necklaces and there you go!)
- Princess
- Renaissance Girl
- Hula Girl
- Mother of Spring
The list is endless! In this post I will show you how to make flower crowns for all head sizes; adult to child. The process takes about 30 minutes and gets quicker as you practice!
Easy Way to Make Flower Crowns : No Hot Glue Required!
First, gather your materials. Below I’ve listed the materials I use to make all my flower crowns for halloween and bridal events:
Materials for Making Flower Crowns:
- Naturally Coiled Wire
- Wire Cutter
- Artificial Flowers ( I typically recommend going in person to Hobby Lobby or Michaels to pick out your flowers, they usually have good deals on bundles during the season changes)
- Note: NO hot glue gun
- Measuring tape
- Shoelace or piece of string
Step 1
Take a piece of string and wrap it around your head (or child’s head) to find the circumference needed. Lay the string alongside a measuring tape- the number of inches will be your head size!
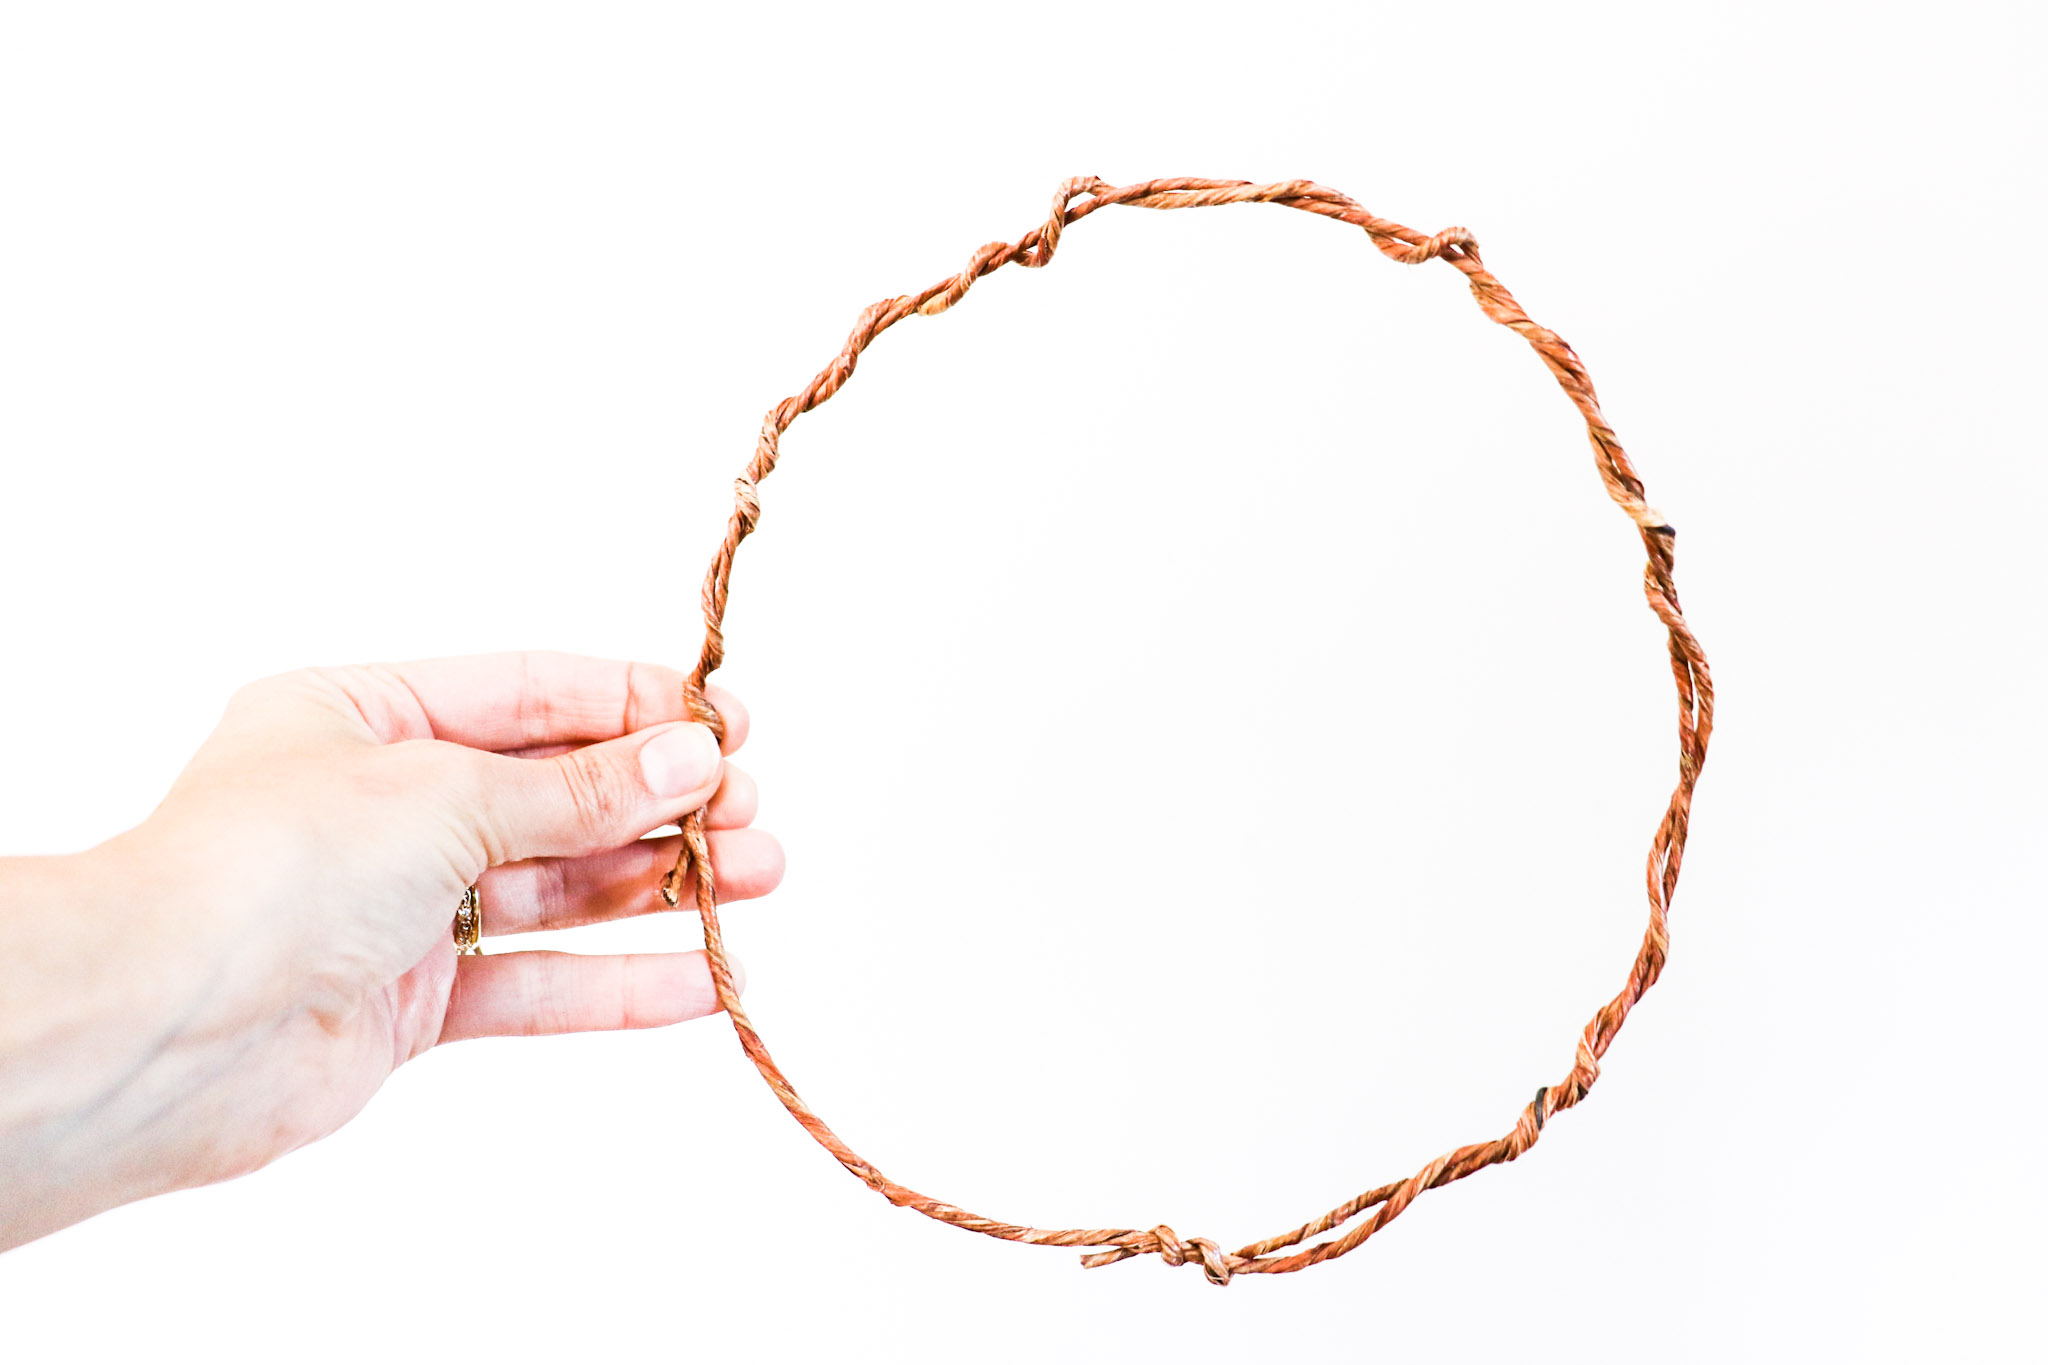
Now, cut the coiled wire but make the length about 6 inches longer than your actual head size. You will need the access wire to wrap the ends around itself ( as shown above) to form a circle. Try it on your head for size. It should fit a little loosely. Once you add the flowers, it will fit more snug!
Note: You can always unwrap the wire and adjust the size as needed until you settle on a circumference custom to your head.
Step 2
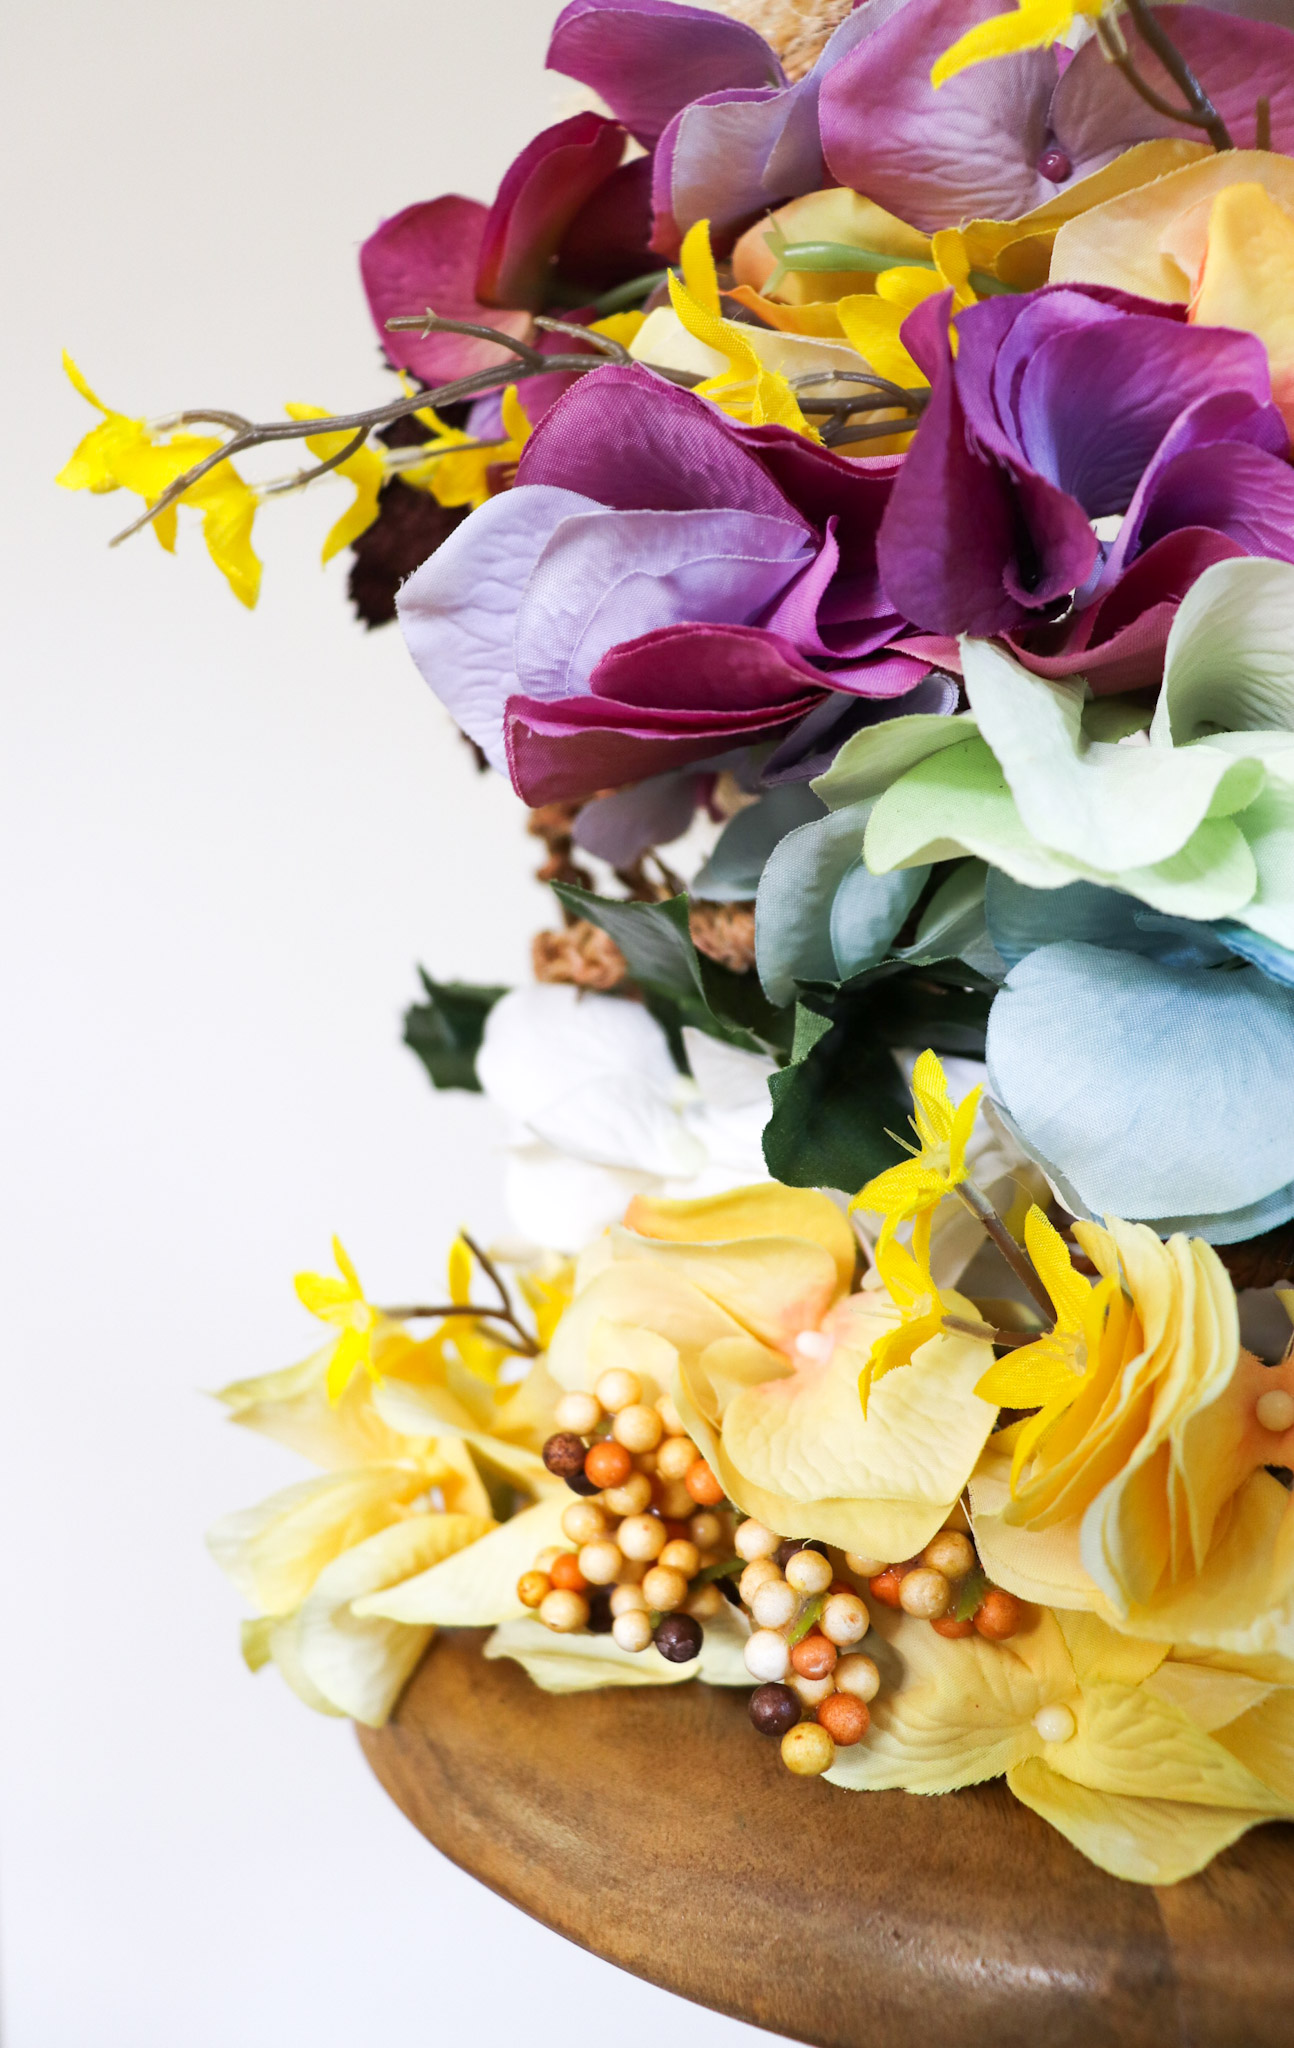
Cut your flowers. Use the wire cutter and cut the flower down, leaving about 3-4 inches of stem. When choosing flowers, I like to pick some with different textures or a batch from the same color family.
Step 3
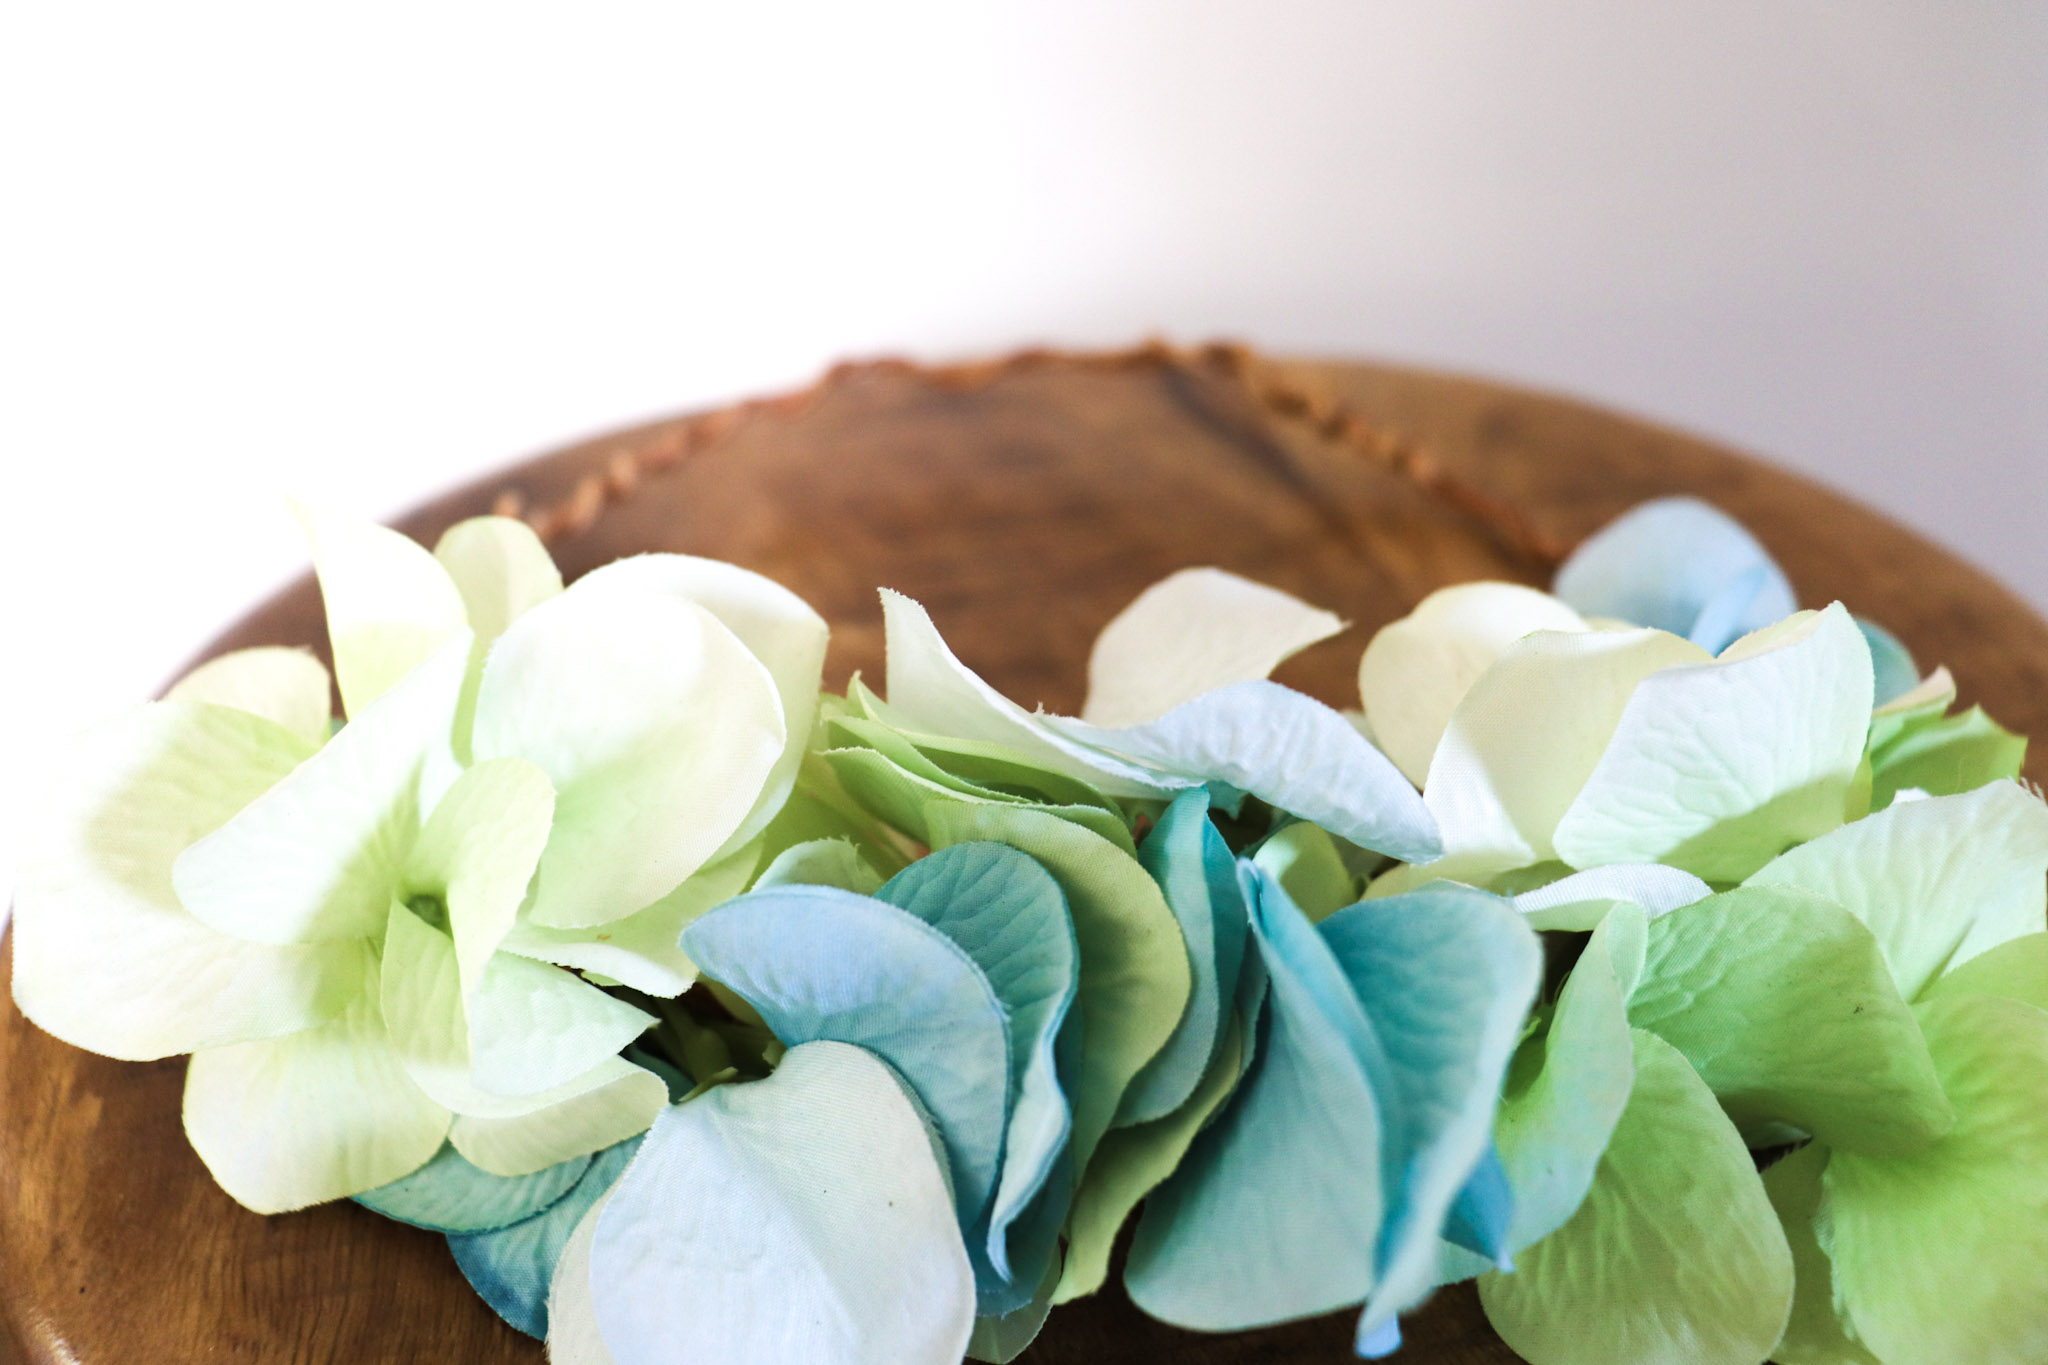
To adhere the flowers to your crown, cut strips of coiled wire (about 6 inches) and bind the flowers to your crown. You will simply wrap the wire around your flowers so that they are attached to the crown. I suggest wrapping bundles of flowers at a time (think little bunches). This will make the process faster.
Next, use your wire cutters to snip any extra stem that may be poking out. Add and adjust the flowers as needed, making sure there are no gaping holes.
I typically only place the flowers in the front half of the crown. However, feel free to improvise and do what feels right. This method of making crowns will give you a much sturdier product. I have re-used these crowns for birthday parties, flown them across the ocean and they are still intact! One downside to making flower crowns without hot glue is that they will be heavier than your typical crown. However, I feel this makes them stay on your head more securely.
How to Make Flower Crowns with Hot Glue
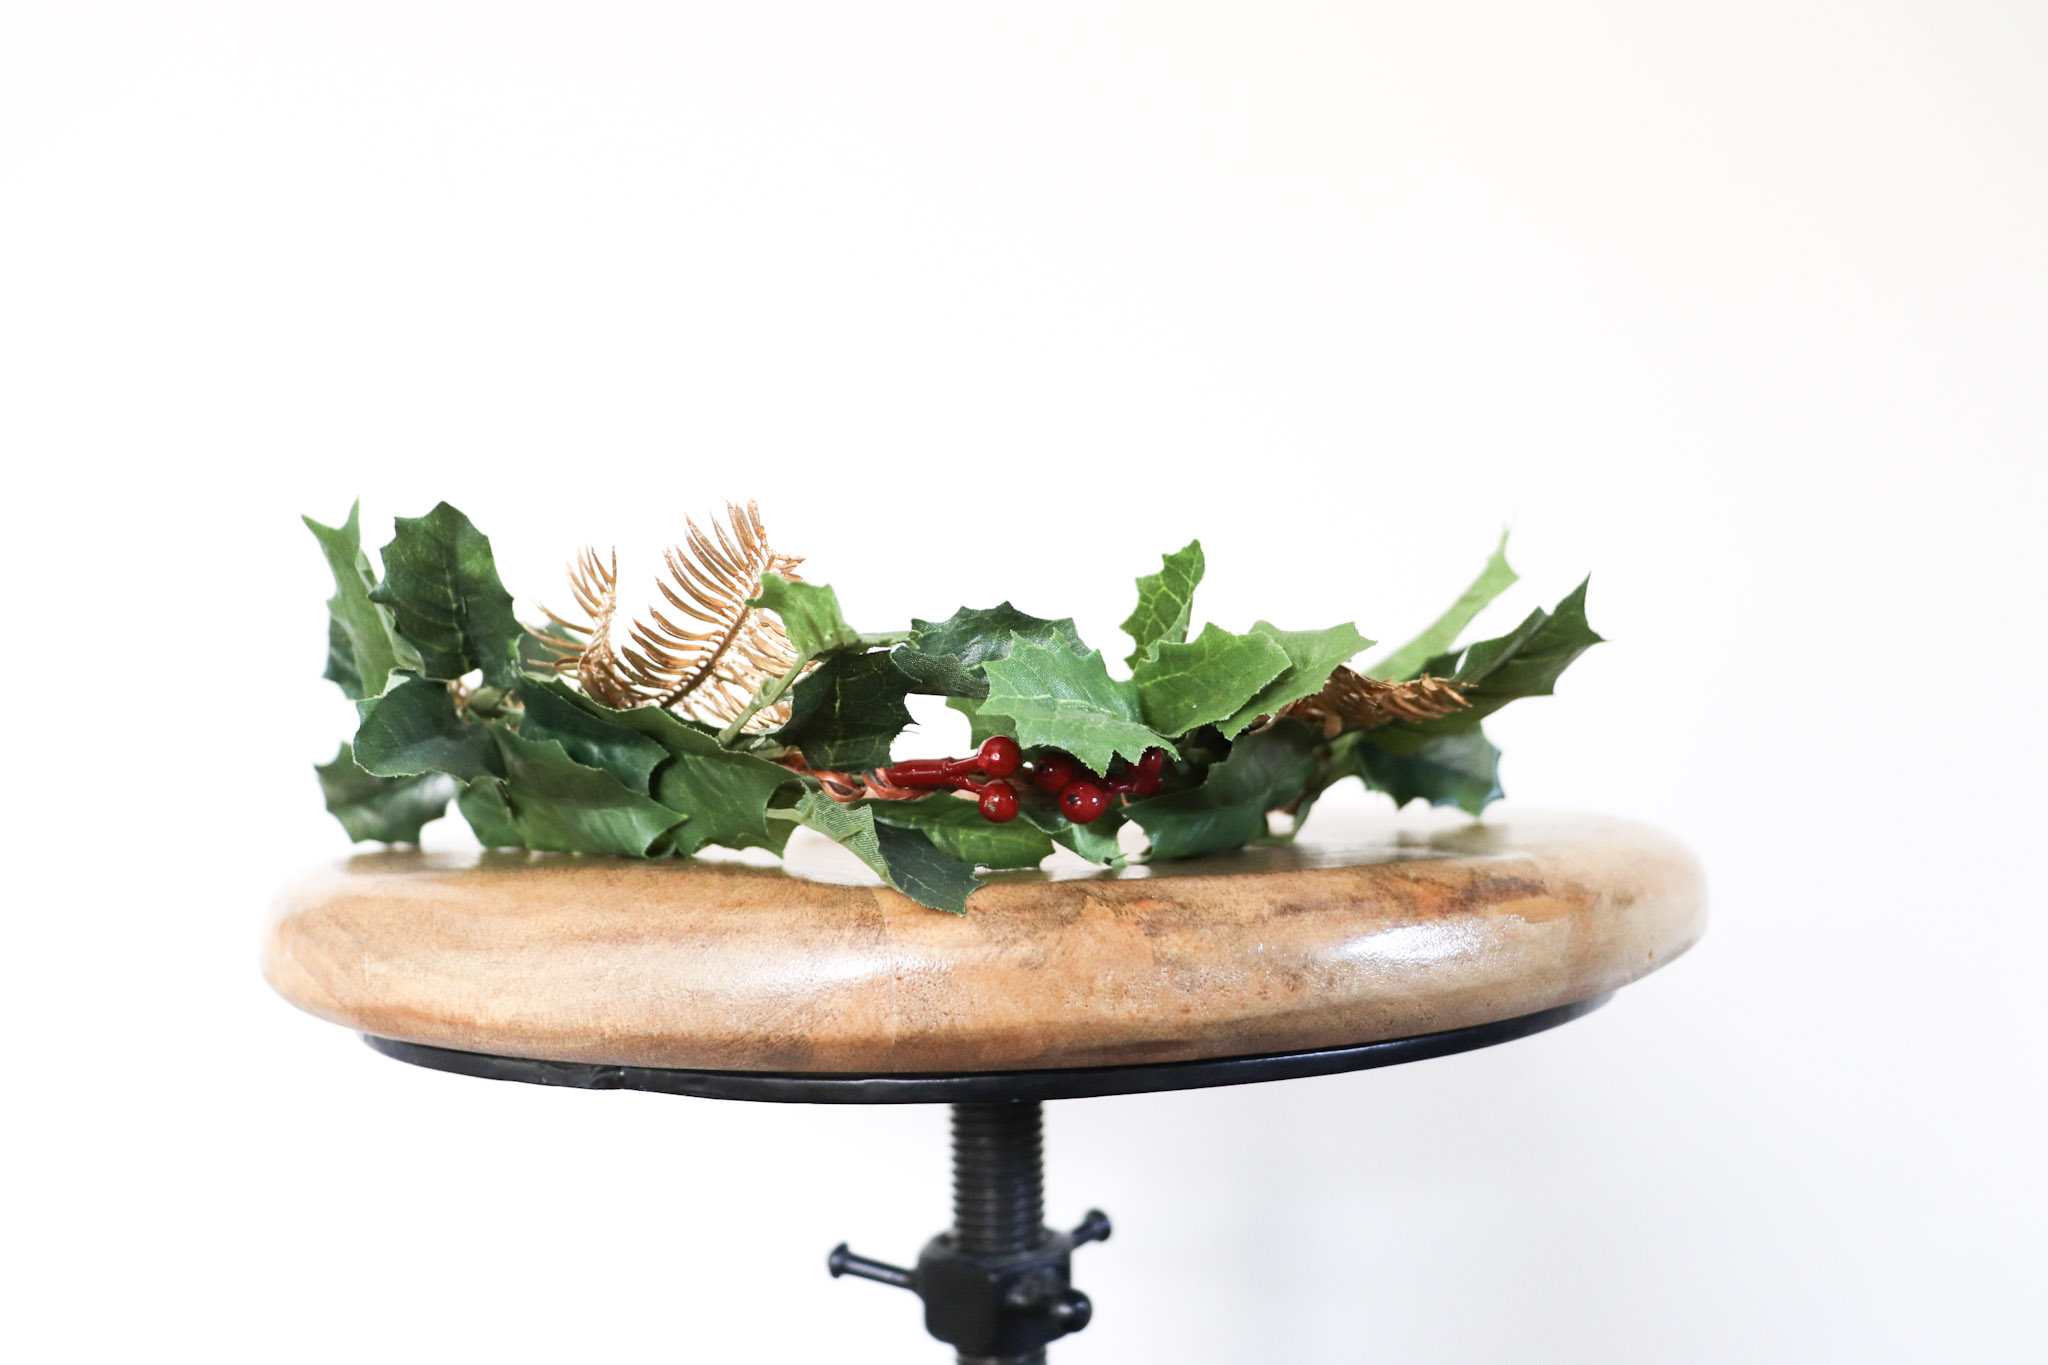
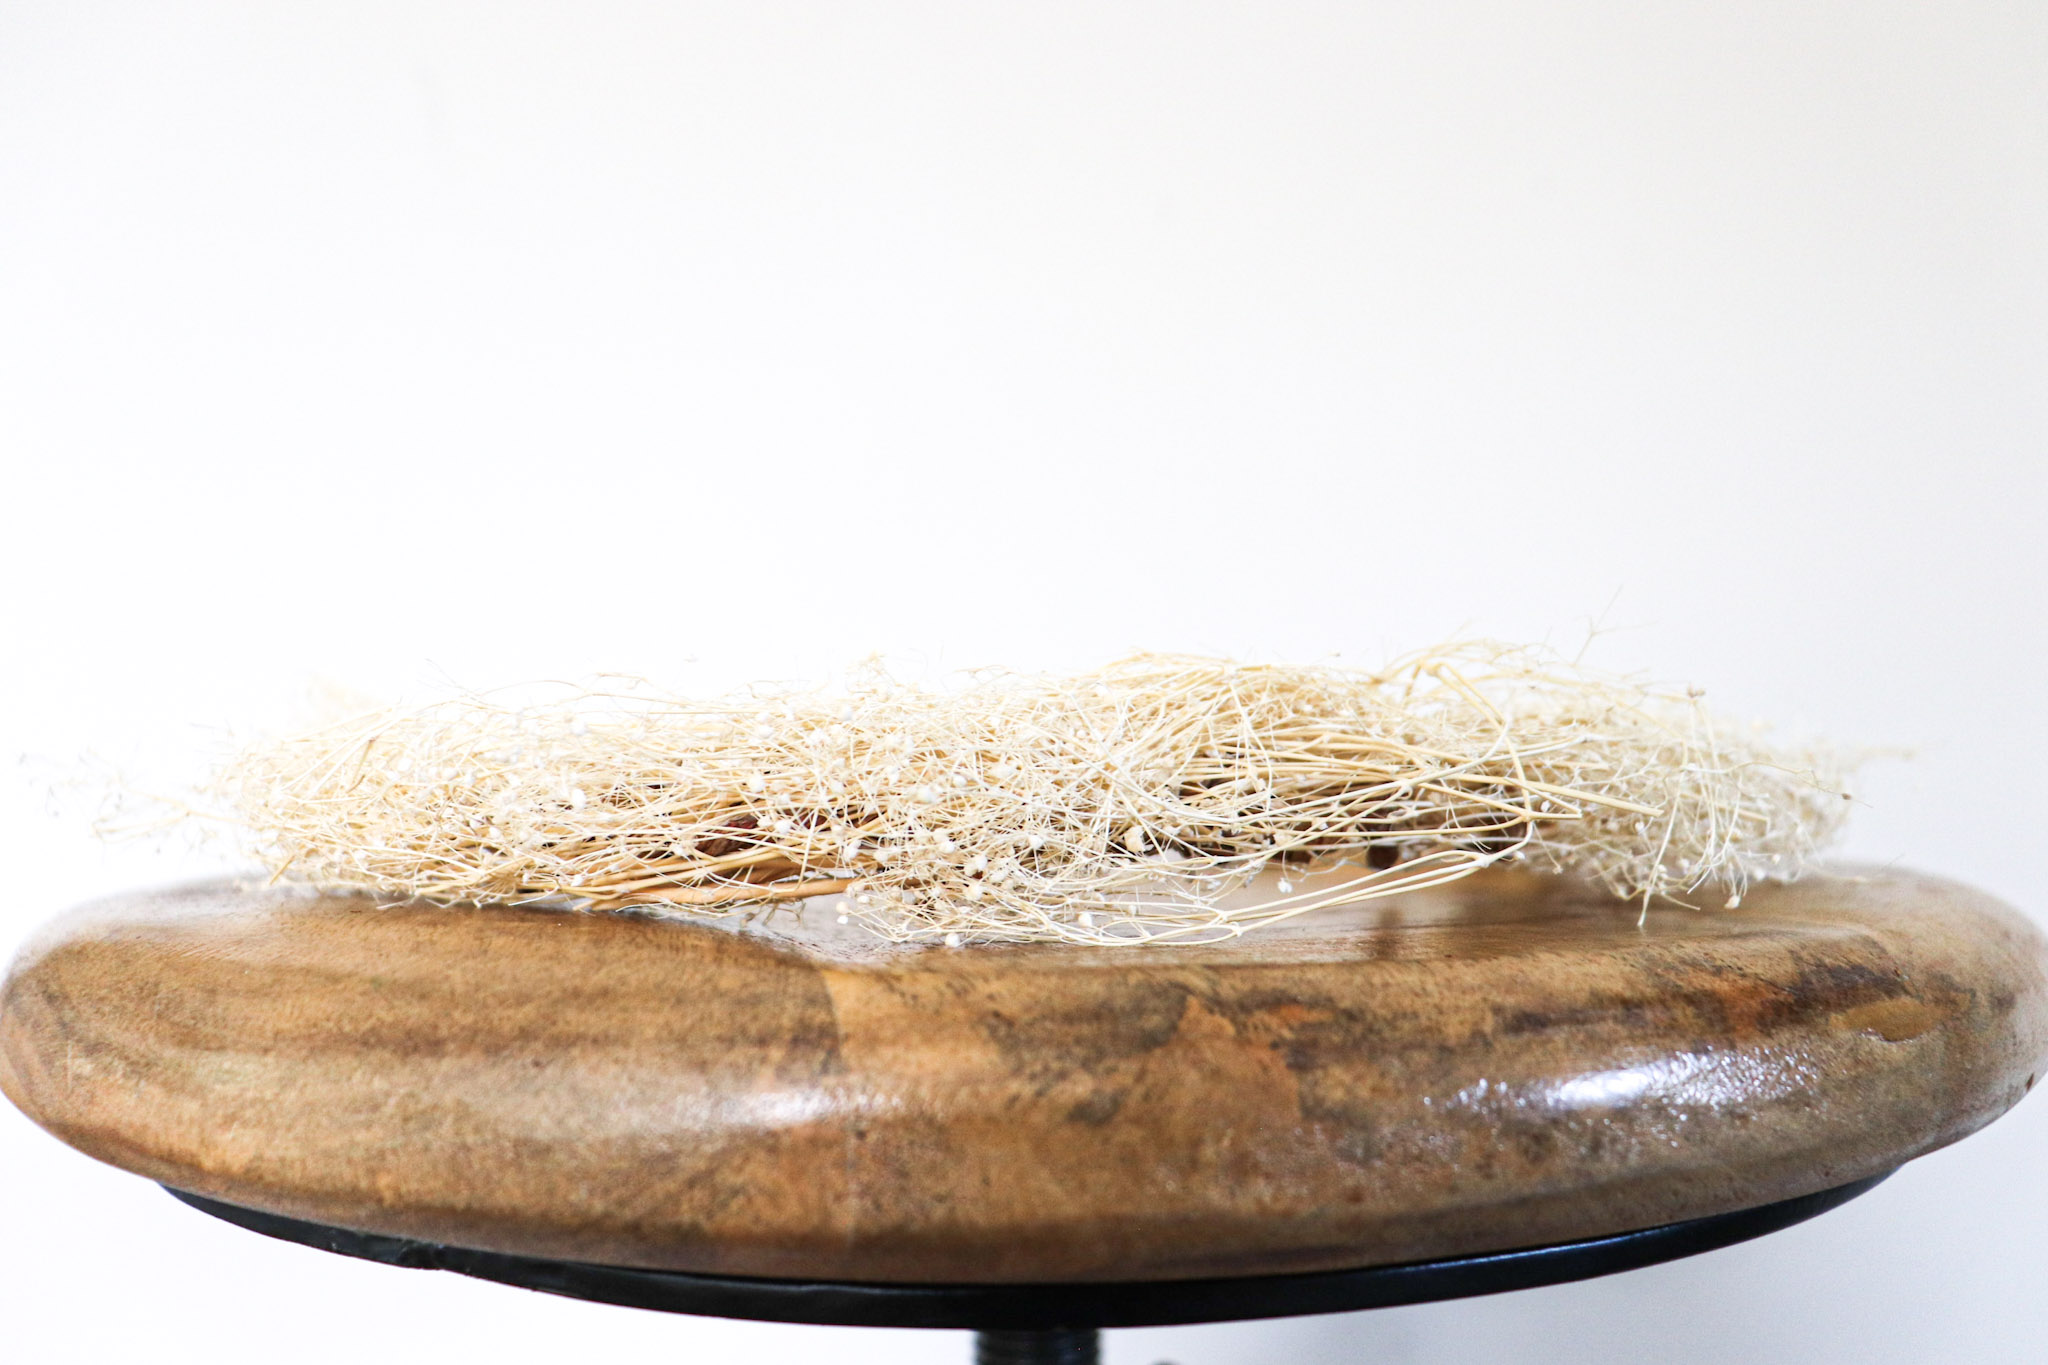
Now, you know how I feel about hot glue…BUT there is a time and a place. The baby’s breath flower crown shown above was made from dried baby’s breath, naturally coiled wire and hot glue.
To make this style, simply repeat Step 1 from above. Then, squeeze hot glue on the exterior of the wire crown. Take your dried baby’s in bunches and carefully place them on top of the hot glue. Let dry for 3 minutes and that’s it! Making flower crowns is that simple! You can buy dried baby’s breath or make it yourself.
How to Make Adjustable Flower Crowns
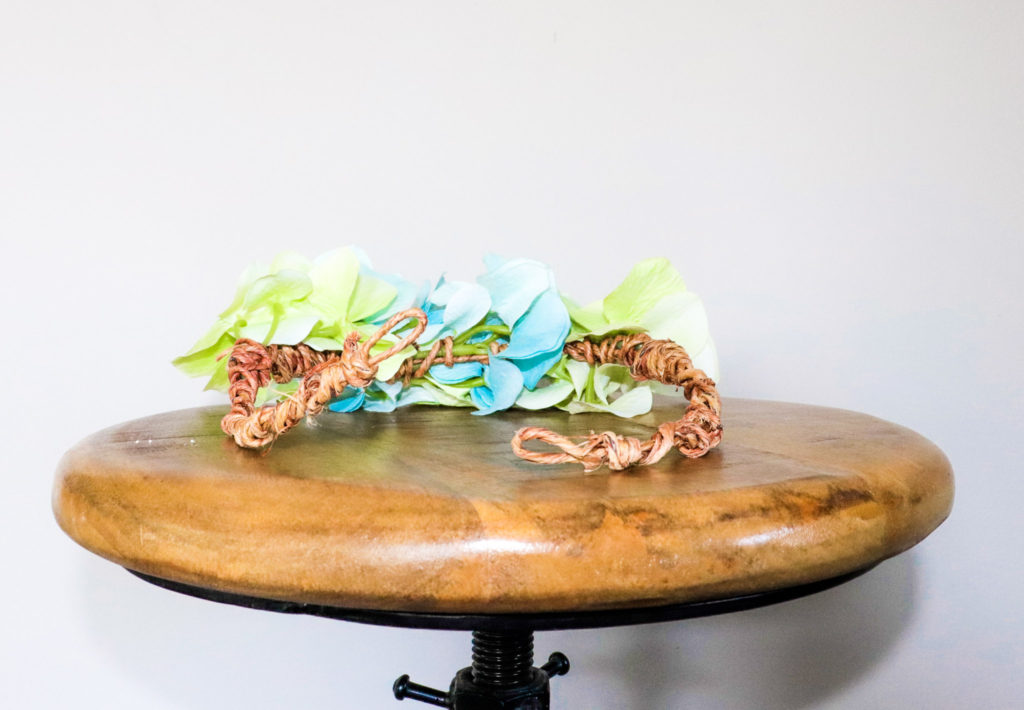
This last trick is: how to make adjustable flower crowns (as seen above). Adjustable flower crowns have two loops at the end. This is created by overlapping the coiled wire into a loop shape. By creating two loops you will enable room for ribbon or twine to thread through holes. Pull the ribbon and tie to your custom head size.
Let me know how it goes! I can’t wait to hear your ideas.
~Alexandria
